STEP-BY-STEP VIDEO ON HOW TO CONFIGURE YOUR BLOG
What You'll Learn
- Professionally Configure Your Blog
- Easily Maneuver Through the WordPress Dashboard
- Change Display Name
- Disable Comments
- Change Permalink Settings
- Delete Unnecessary Plugins
- Install Recommended Plugins
- Update Site Title
- Clean Up the Admin Area
STEP-BY-STEP VIDEO ON HOW TO CONFIGURE YOUR BLOG
What You'll Learn
- Professionally Configure Your Blog
- Easily Maneuver Through the WordPress Dashboard
- Clean Up the Admin Area
- Change Display Name
- Disable Comments
- Change Permalink Settings
- Delete Unnecessary Plugins
- Install Recommended Plugins
- Update Site Title
Jump to a specific step by clicking on the links below:
Change Permalink Settings
Disable Comments
Update Gravatar
Delete Unnecessary Plugins
Install Recommended Plugins
Update Site Title
Change Display Name
Step 1
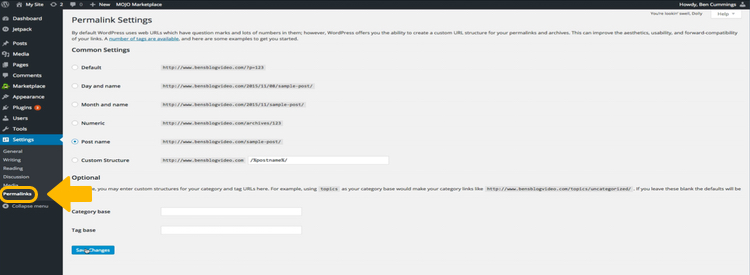
Access the permalink settings by clicking on Settings>Permalinks.
Step 2
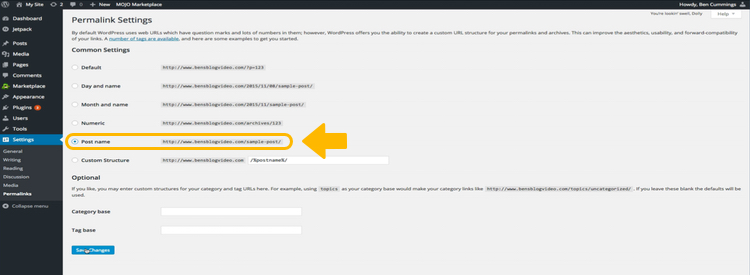

Under the Common Settings section, select “Post Name” and click the “Save Changes” button.
Step 1

Access the discussion settings by clicking on “Turn Comments On or Off” under the “More Actions” section on your WordPress Dashboard.
Step 2
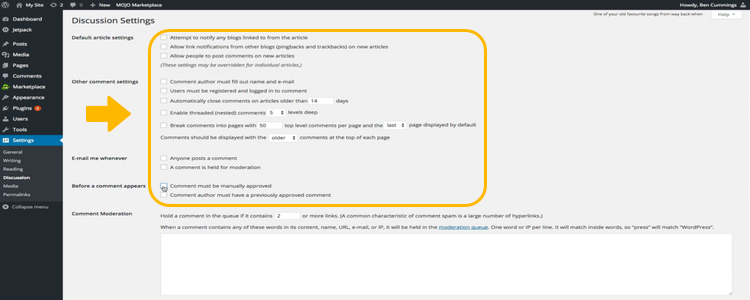
Uncheck all the boxes and click the “Save Changes” button.
Step 1
Before you create your Gravatar, you’ll need to sign up for a free WordPress.com account. That’s because your Gravatar is connected to your WordPress.com account and the email and image you use for that profile will be used for your Gravatar.
After you’ve created your WordPress.com account, go to https://en.gravatar.com/ and click the “Create Your Own Gravatar” button.
Step 2
Click the “My Profile” tab in the navigation menu.
Step 3
Click the “Websites” tab on the side navigation menu.
Step 4
Click the “Add Website” icon, enter the Website URL and Website Title of your blog, and click the “Save Website” button.
Step 5
Next, go to your WordPress dashboard and access your user profile by clicking Users>Your Profile.
Then under Contact Info, enter the email you used to create your account and the URL of your blog.
Also, under the About Yourself section, enter a quick bio introducing yourself and click the “Update Profile” button at the bottom of the screen.
Step 6
In a few moments, you will receive a confirmation email. Follow the steps to confirm your email address and your Gravatar will soon be viewable on your blog.
Please allow 5 to 10 minutes for Gravatar changes to take effect.
Step 7
If your Gravatar isn’t showing up right away, visit https://en.gravatar.com/site/check/ to verify that your email and Gravatar are connected and working properly.
Step 1
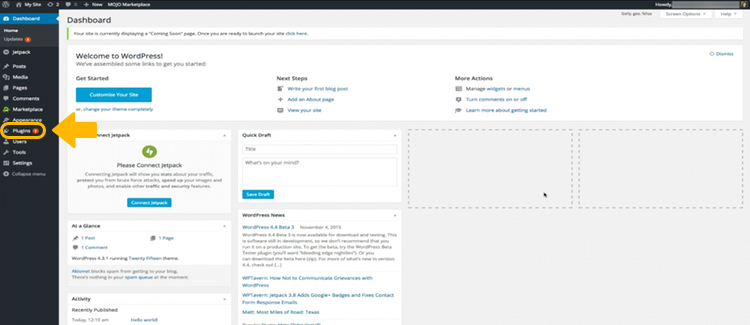
Access your plugins by clicking the “Plugins” link on your dashboard.
Step 2
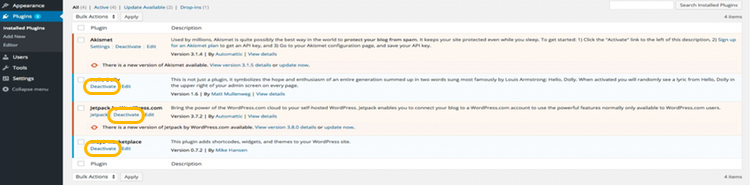
Select the plugins that you’re not going to use and click the “Deactivate” hyperlink under each plugin.
Step 3
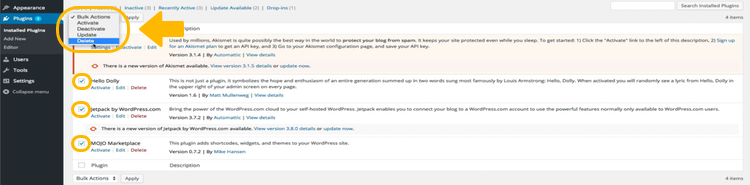
Once deactivated, check the boxes of the plugins you don’t want. Then from the “Bulk Actions” dropdown menu, select “Delete”.
Step 4
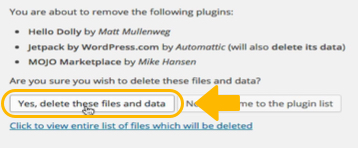
You’ll be prompted to verify that you want to delete the plugins. Click the “Yes, delete these files and data” button to permanently delete the plugins.
Step 1

Access your plugins by clicking the “Plugins” link on your dashboard.
Step 2
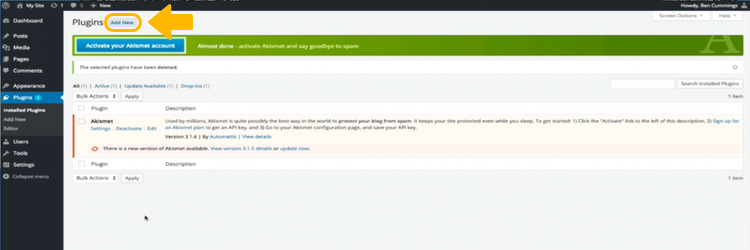
Click the “Add New” button to add a new plugin.
Step 3
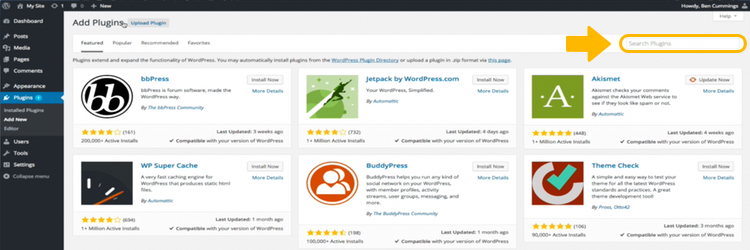
In the search bar located at the upper right-hand side of your screen, type in YOAST SEO. We'll only be installing one plugin for this tutorial, but you'll repeat this step each time you install a new plugin.
Step 4
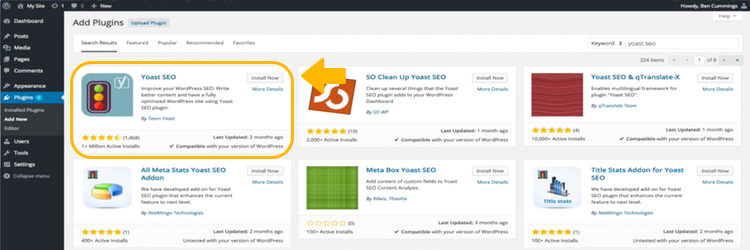
Find the YOAST SEO plugin and click the “Install Now” button.
Step 5
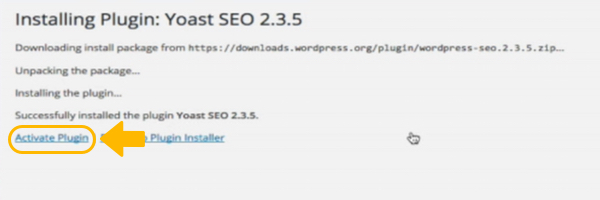
Click the “Activate Plugin” link and your plugin will be ready to go.
Step 1
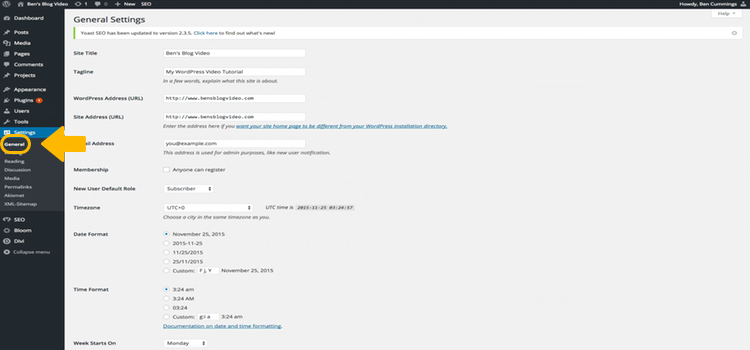
Access your general settings by clicking Settings>General.
Step 2
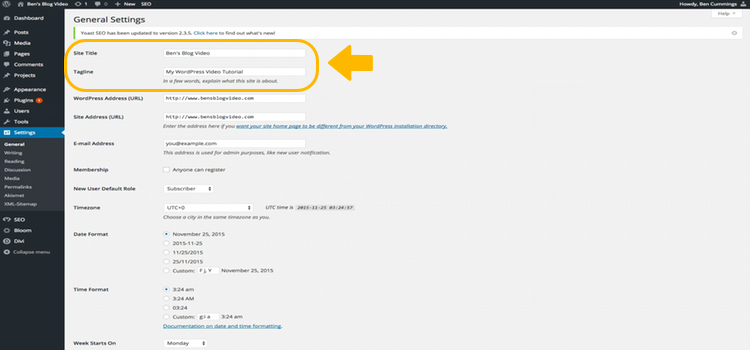
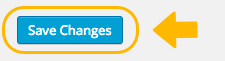
Update your Site Title and Tagline and click the “Save Changes” button.
Step 1
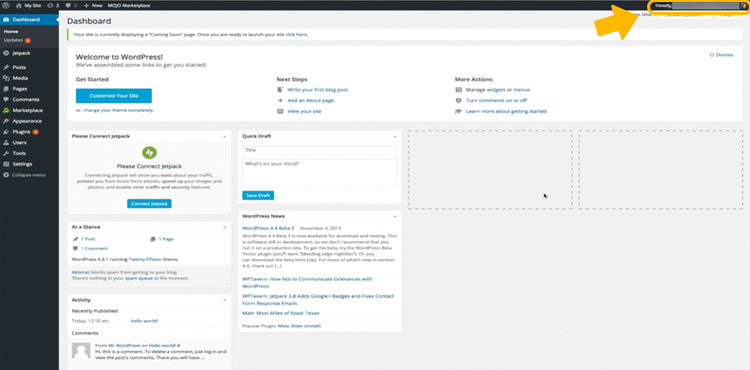
On the upper right-hand side of your screen, hover your mouse where it says “Howdy”. Then click “Edit My Profile” from the dropdown menu.
Step 2
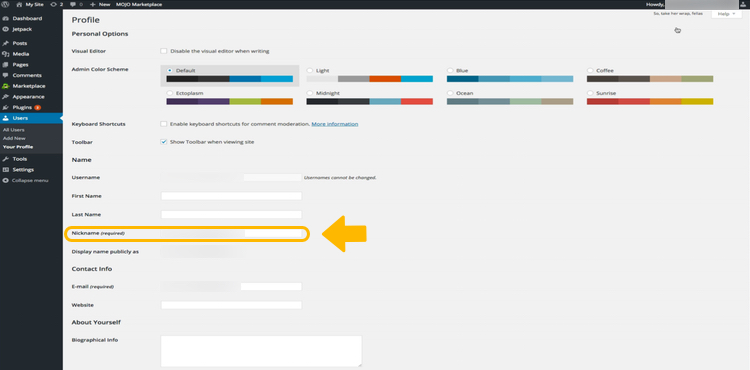
Find the “Nickname Required” text box and type a nickname. (I recommend using your actual name).
Step 3
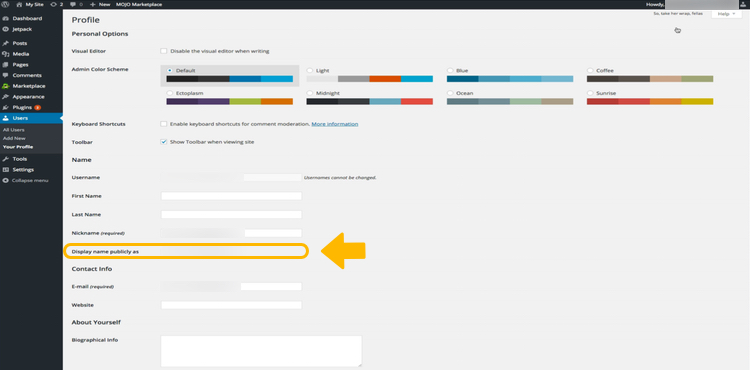
Right below the Nickname section is the “Display Name Publicly” option. Simply select the nickname you just created from the dropdown menu.
Step 4
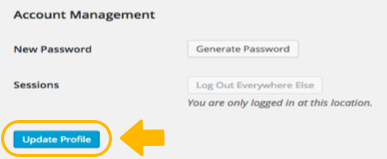
Scroll to the bottom of the screen and click the “Update Profile” button. The nickname you just selected will now be how your name is publicly displayed on your blog.