
Maono Wave T5 Wireless Mic Unboxing & Setup | Mobile & Camera Audio Demo
Maono Wave T5 Wireless Mic Unboxing & Setup | Mobile & Camera Audio Demo
Audio quality is one of the most straightforward ways to elevate your video content, whether you’re a content creator, vlogger, or mobile filmmaker. Today, we’re diving deep into the Maono Wave T5 wireless lavalier microphone system, a compact and versatile mic setup designed for creators on the go. This review covers everything from unboxing to setup with both smartphones and cameras, highlighting key features such as gain control, noise cancellation, pairing, and more.
Unboxing the Maono Wave T5: What’s Inside the Box?
The Maono Wave T5 comes in a thoughtfully designed package that caters to portability and ease of use. The version I reviewed is the combo edition, priced around $109 on Amazon, which includes both USB-C and Lightning mobile receivers, making it compatible with a wide range of devices.
Inside the box, you’ll find:
- A branded hard-shell carrying case with a textured finish for grip and protection, featuring the signature Maono logo.
- Two magnetic necklaces that can be worn to attach the mic conveniently.
- A USB-C to USB-A charging cable for powering the case and devices.
- Branded stickers for those who like a bit of flair.
- A user manual and a product list detailing everything included in the mic set.
Opening the protective carrying case reveals a neatly organized interior with mesh compartments for accessories, cables, and the wireless mic components. This setup ensures that everything stays secure and travel-ready.
The complete wireless mic setup includes:
- Two magnetic clips that allow you to attach the transmitters securely to clothing without relying on built-in clips — perfect for clean, professional mic placement.
- Two fluffy wind screens designed to reduce wind noise during outdoor recordings.
- A 3.5 mm TRS to TRS cable for connecting the system to DSLR or mirrorless cameras.
- Two mobile receivers: one with a USB-C connector compatible with Android and newer Apple devices, and another with a Lightning connector for older iPhones.
- The charging case, which holds the two lavalier mic transmitters and the camera receiver, keeping everything powered and organized in a compact form factor.
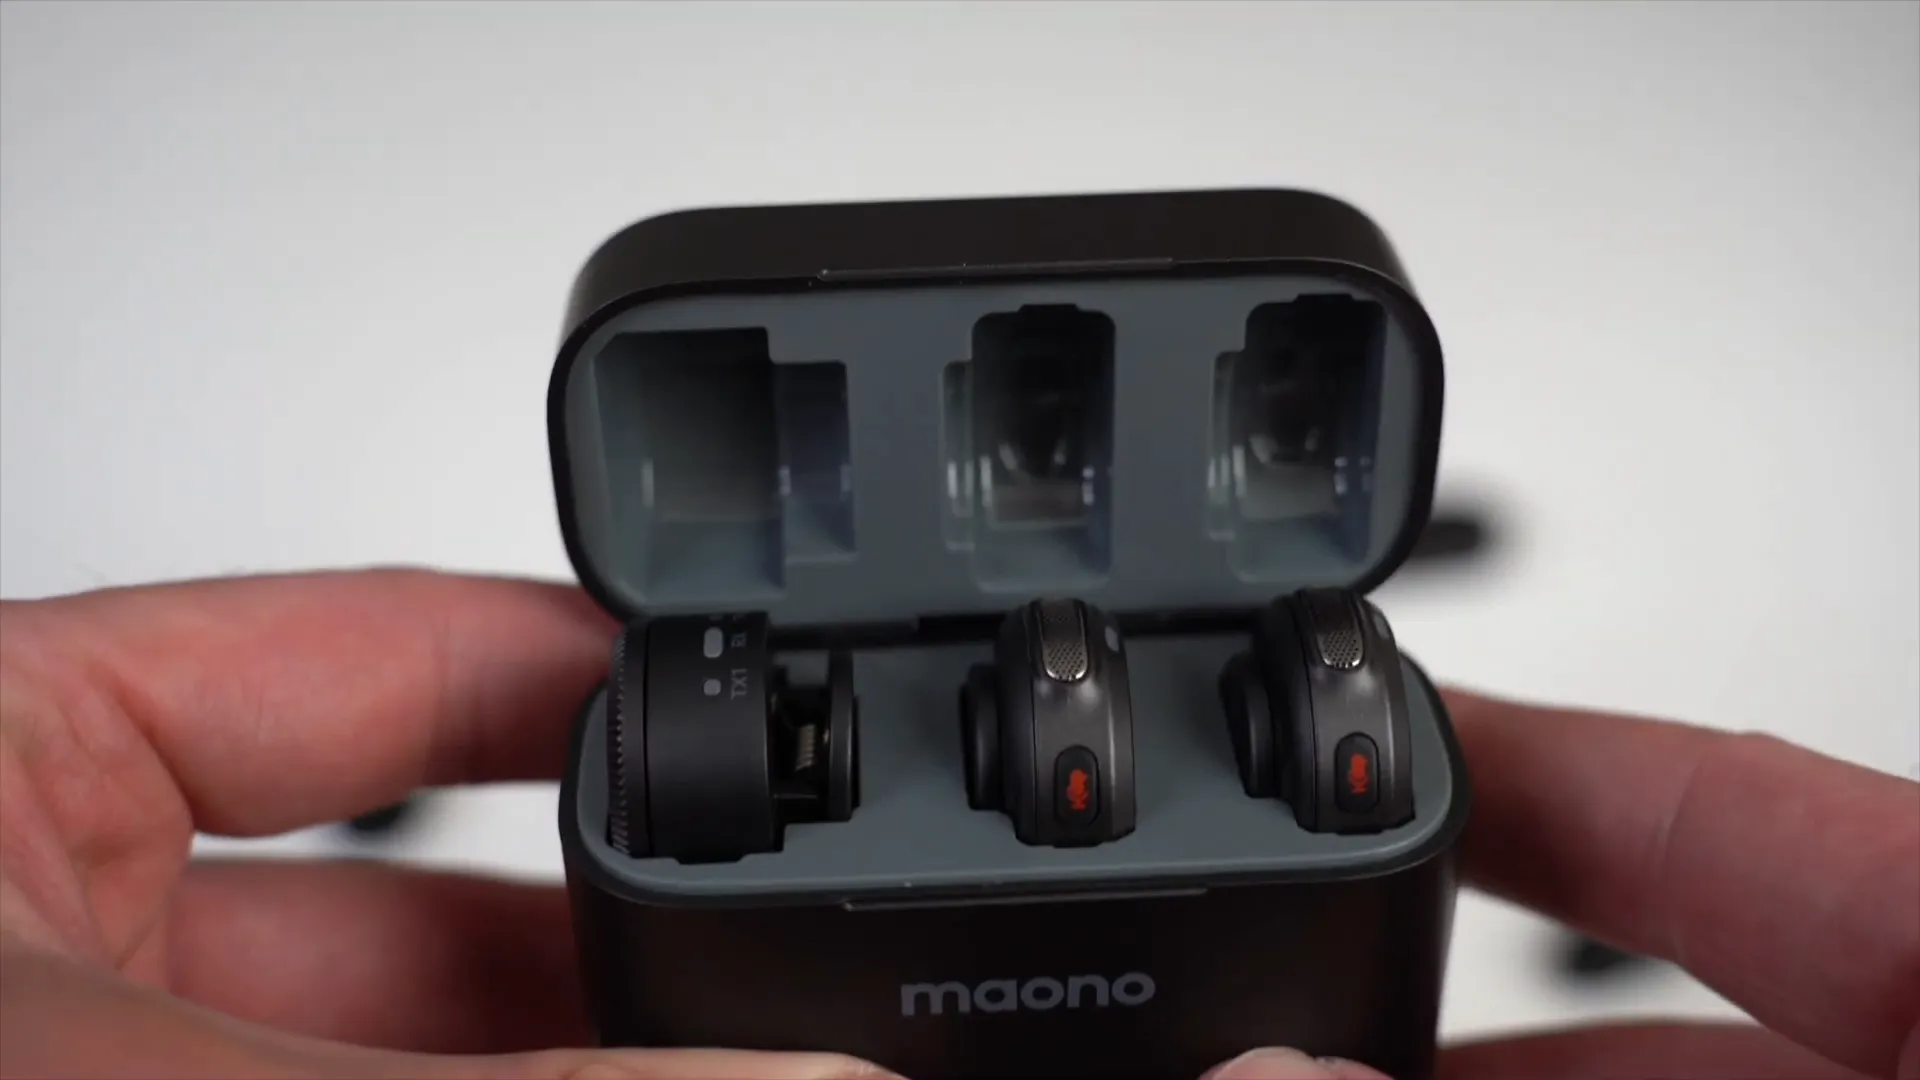
Closer Look at the Camera Receiver
The camera receiver is built solidly and compact enough to be unobtrusive. On one side, there’s a power and pairing button and a USB-C port for direct charging if needed. The mountback clip allows you to attach the receiver to your camera or rig setup easily.
Flipping to the other side, you’ll find a 3.5 mm TRS output jack to connect the receiver to your camera’s microphone input. Adjacent to this is a switch for toggling between mono and stereo audio modes, letting you customize your recording preference.
Along the bottom are the charging contacts. A quick tip: new units come with a thin plastic film covering these contacts, so be sure to remove it to ensure proper charging.
At the top, there’s a large volume adjustment knob controlling microphone gain, featuring a three-step system (high, medium, low). Turning the knob clockwise increases gain, while counterclockwise decreases it. Just below the knob are indicator lights showing the current gain level.
The status indicator lights are another helpful feature. The TX1 and TX2 lights correspond to the two transmitters:
- Off: mic powered down
- Red: muted
- Green: noise cancellation active
- Blue: mic paired and ready
The center indicator displays the camera receiver’s battery status, letting you know when it’s time to recharge.
Notably, the transmitters and receivers come pre-paired out of the box, so you can start recording immediately. If you ever need to re-pair, holding the power buttons for six seconds while both devices are off will do the trick.
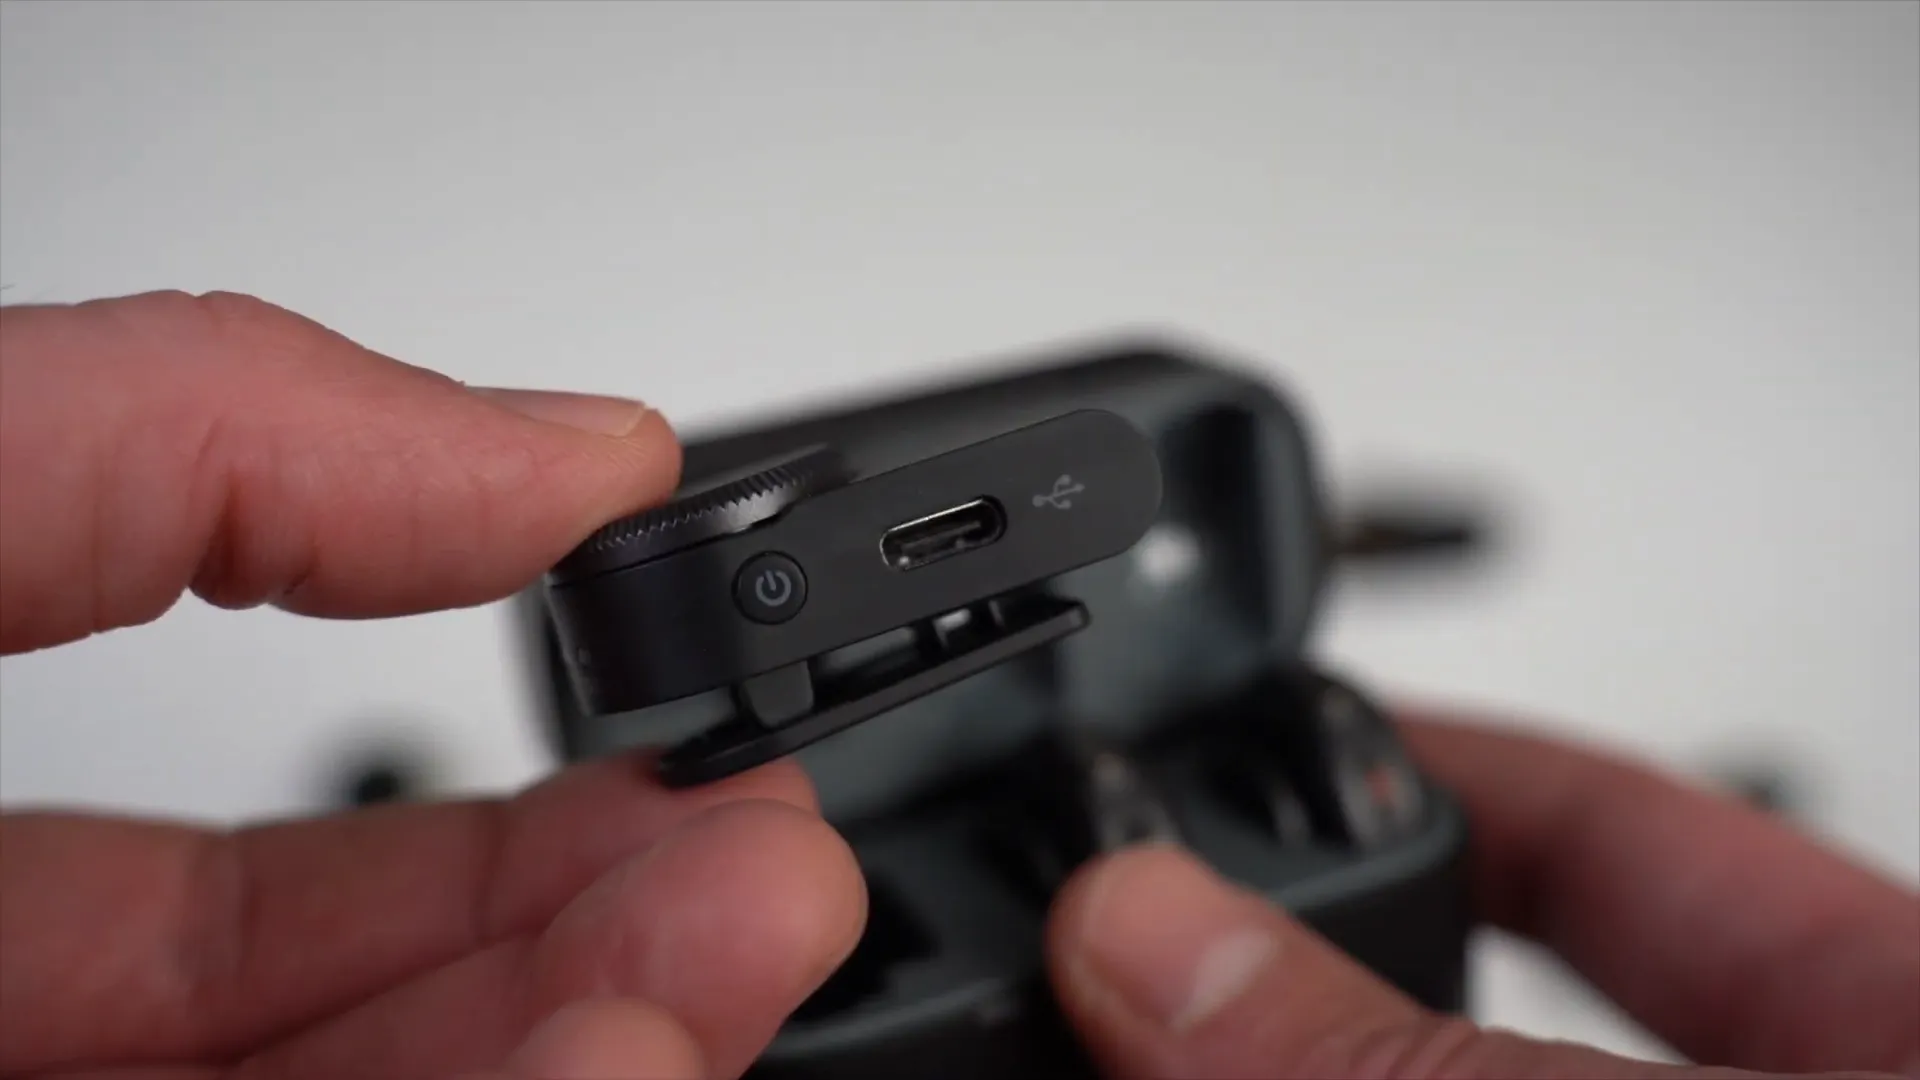
The Transmitters: Compact and Feature-Rich
The transmitters are impressively compact and lightweight, perfect for discreet audio capture. Like the receiver, they have protective films over their charging contacts—remember to peel these off to avoid charging issues.
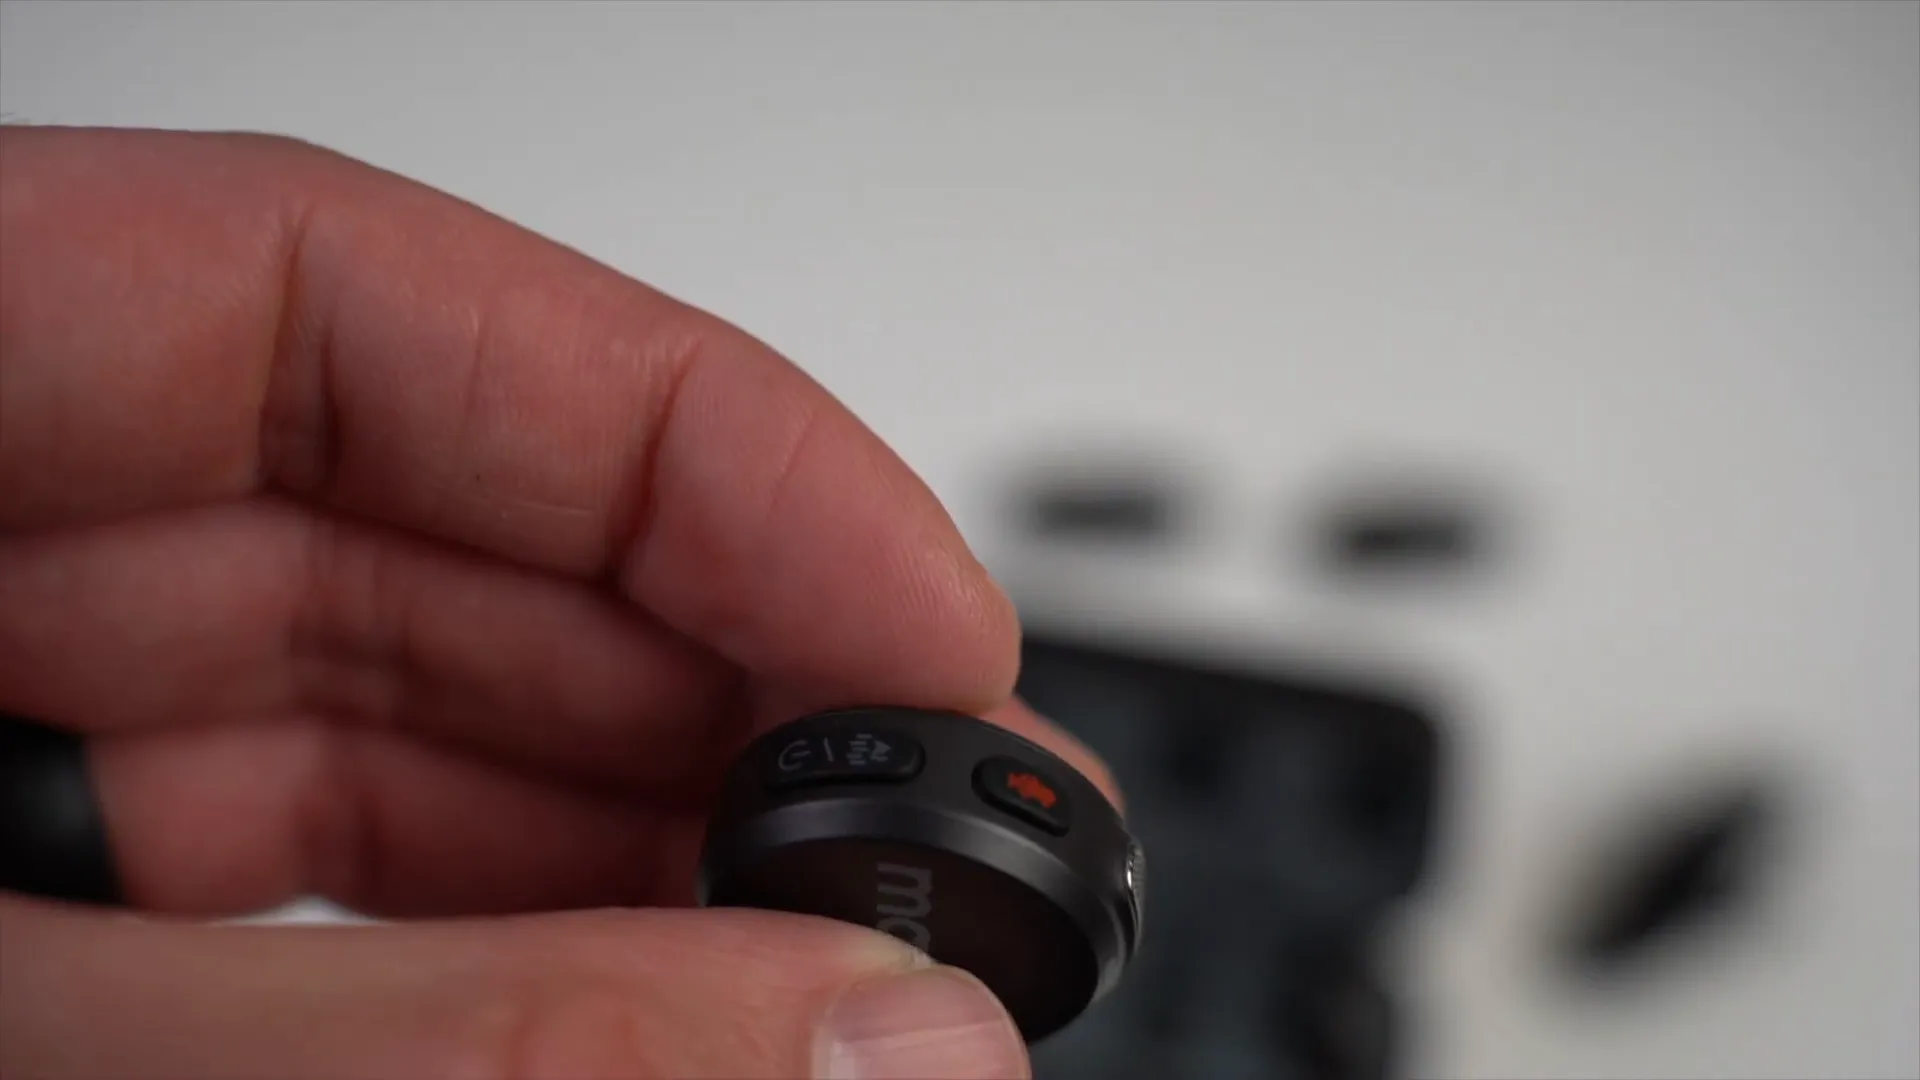
On one side of each transmitter, there are two main buttons:
- Microphone icon button: This serves as a mute toggle and remote camera shutter control. A short press mutes or unmutes the mic, while a long press can remotely take photos or start/stop video recording when paired with your phone’s camera app.
- Power and noise reduction button: Hold for two seconds to power on or off. A short press toggles noise reduction on or off.
At the top is the built-in microphone, with a status indicator light underneath that shows power, pairing, mute, and noise cancellation status at a glance.
Placing the transmitters back into the charging case is effortless thanks to magnetic pulls that secure them in place. The case’s front battery life indicator illuminates to show the current charge level, with four lights representing full charge.
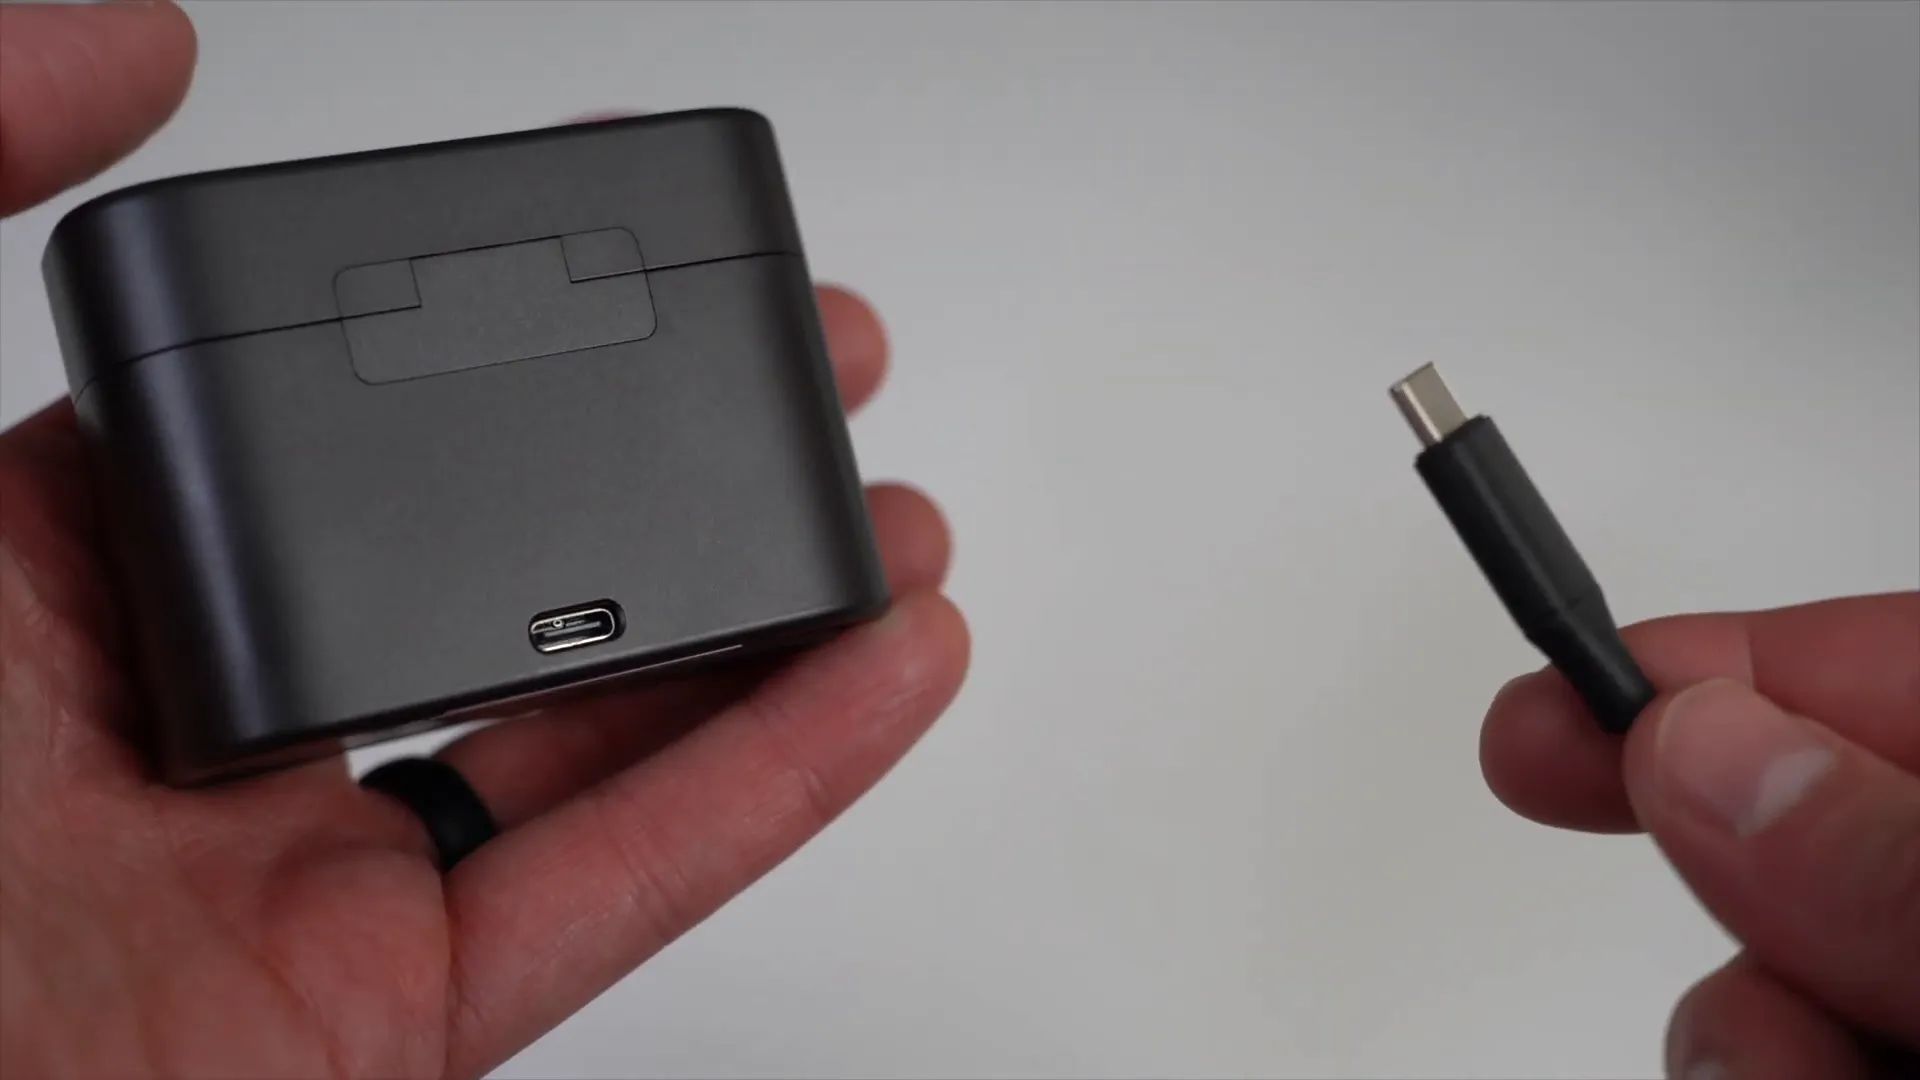
Charging the Case and Devices
Charging the entire setup is straightforward. Connect the USB-C end of the charging cable to the back of the case, and plug the USB-A end into a wall charger, power bank, or computer. If you lack USB-A ports, you can use a USB-C to USB-C cable or an adapter.
Charging the case powers up all devices inside simultaneously, ensuring your wireless mic system is ready whenever you are.
Pairing and Using the Maono Wave T5 with Mobile Devices
Connecting the Wave T5 to your smartphone is simple. For example, using the USB-C mobile receiver with an iPhone (or the Lightning version for older iPhones), you just plug the receiver into your phone’s port. The receiver’s indicator light will blink, signaling it’s searching for a transmitter.
Removing a transmitter from the charging case initiates automatic pairing. Within seconds, the transmitter’s LED turns solid blue, and the corresponding TX1 or TX2 light on the receiver also turns solid blue, confirming a successful connection.
Once paired, you can record wirelessly with your phone, enjoying much cleaner and more reliable audio than the built-in mic.
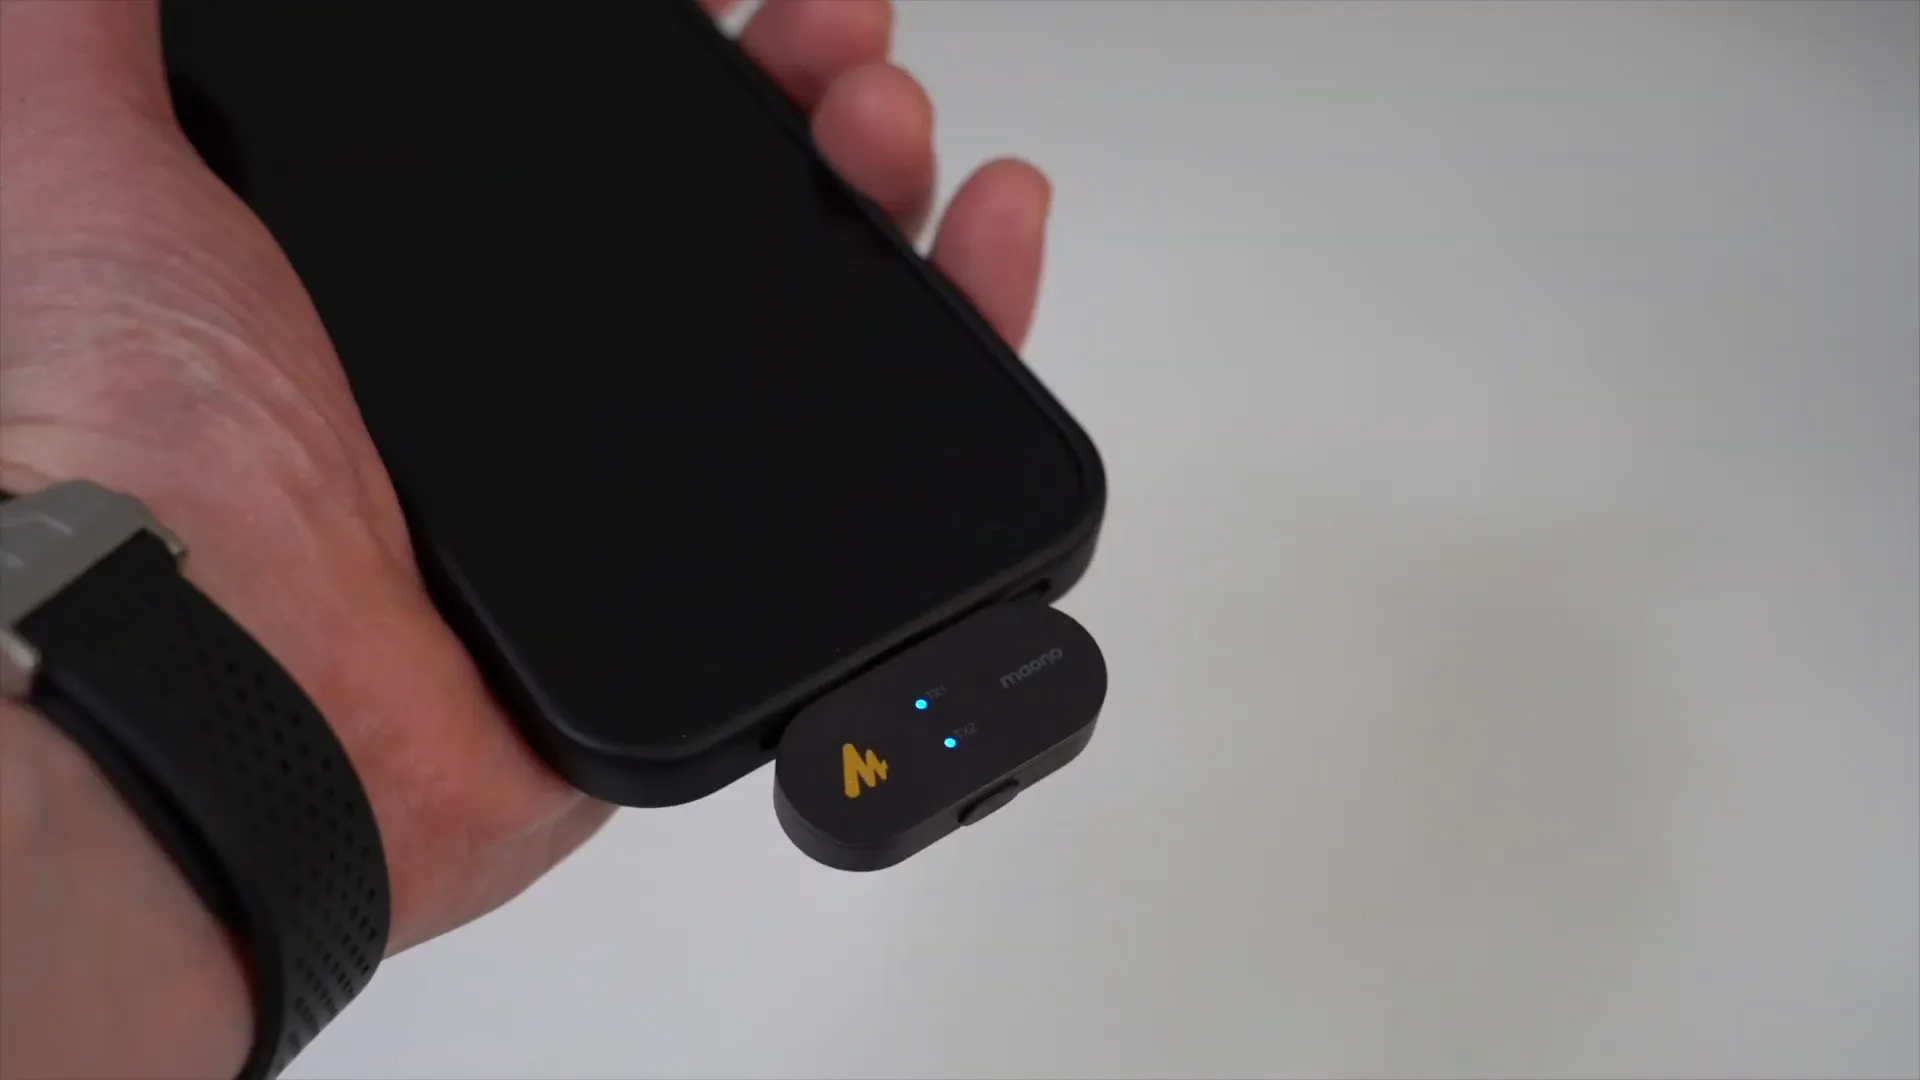
When powered on and paired, the transmitter’s status indicator glows solid blue, indicating readiness. Pressing the red mute button once mutes the mic (indicator turns red), and pressing it again unmutes it (indicator returns to blue).
Noise cancellation is toggled by pressing the power button once, turning the indicator green while active. Press again to disable, returning the light to blue.
Additionally, the mobile receiver has a dedicated button underneath that allows quick toggling of noise cancellation without touching the transmitter, a handy feature for on-the-fly adjustments.
How to Wear the Maono Wave T5 Microphone
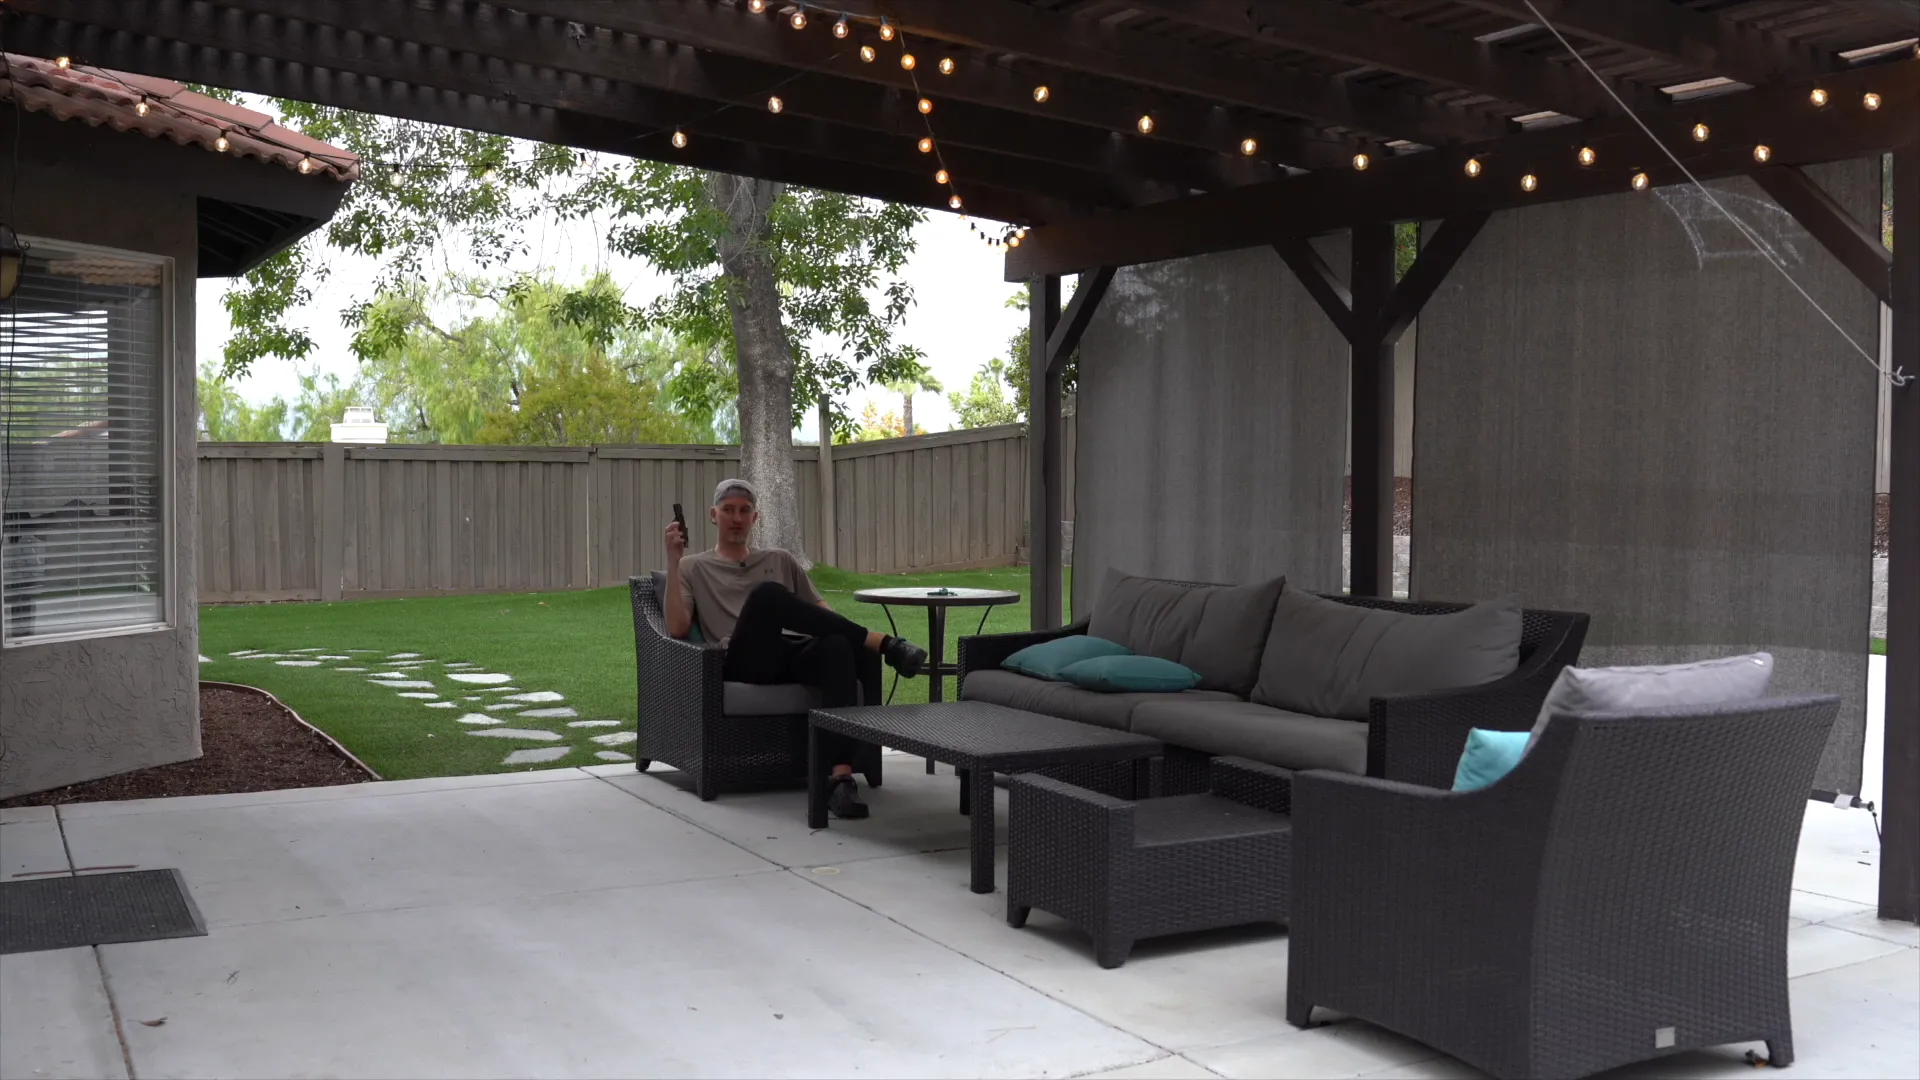
The Wave T5 offers flexible wearing options to suit your recording style and environment. On the back of each transmitter is a small Maono logo magnet that can be peeled off, allowing you to attach the mic directly to your audio source.
There are two primary ways to wear the mic:
- Magnetic Clip: Use the magnet to clip the mic onto clothing such as collars, lapels, or hats. Alternatively, attach the magnet directly to the subject’s shirt or other apparel. Make sure the microphone screen faces the audio source for optimal sound capture.
- Magnetic Necklace: The kit includes a magnetic necklace with an adjustable length. Attach the mic to the magnet on the necklace, wear it around your neck, and position the mic closer or further from the audio source as needed.
Both options allow for discreet, professional-looking mic placement while ensuring clear audio pickup.
Field Test and Audio Performance
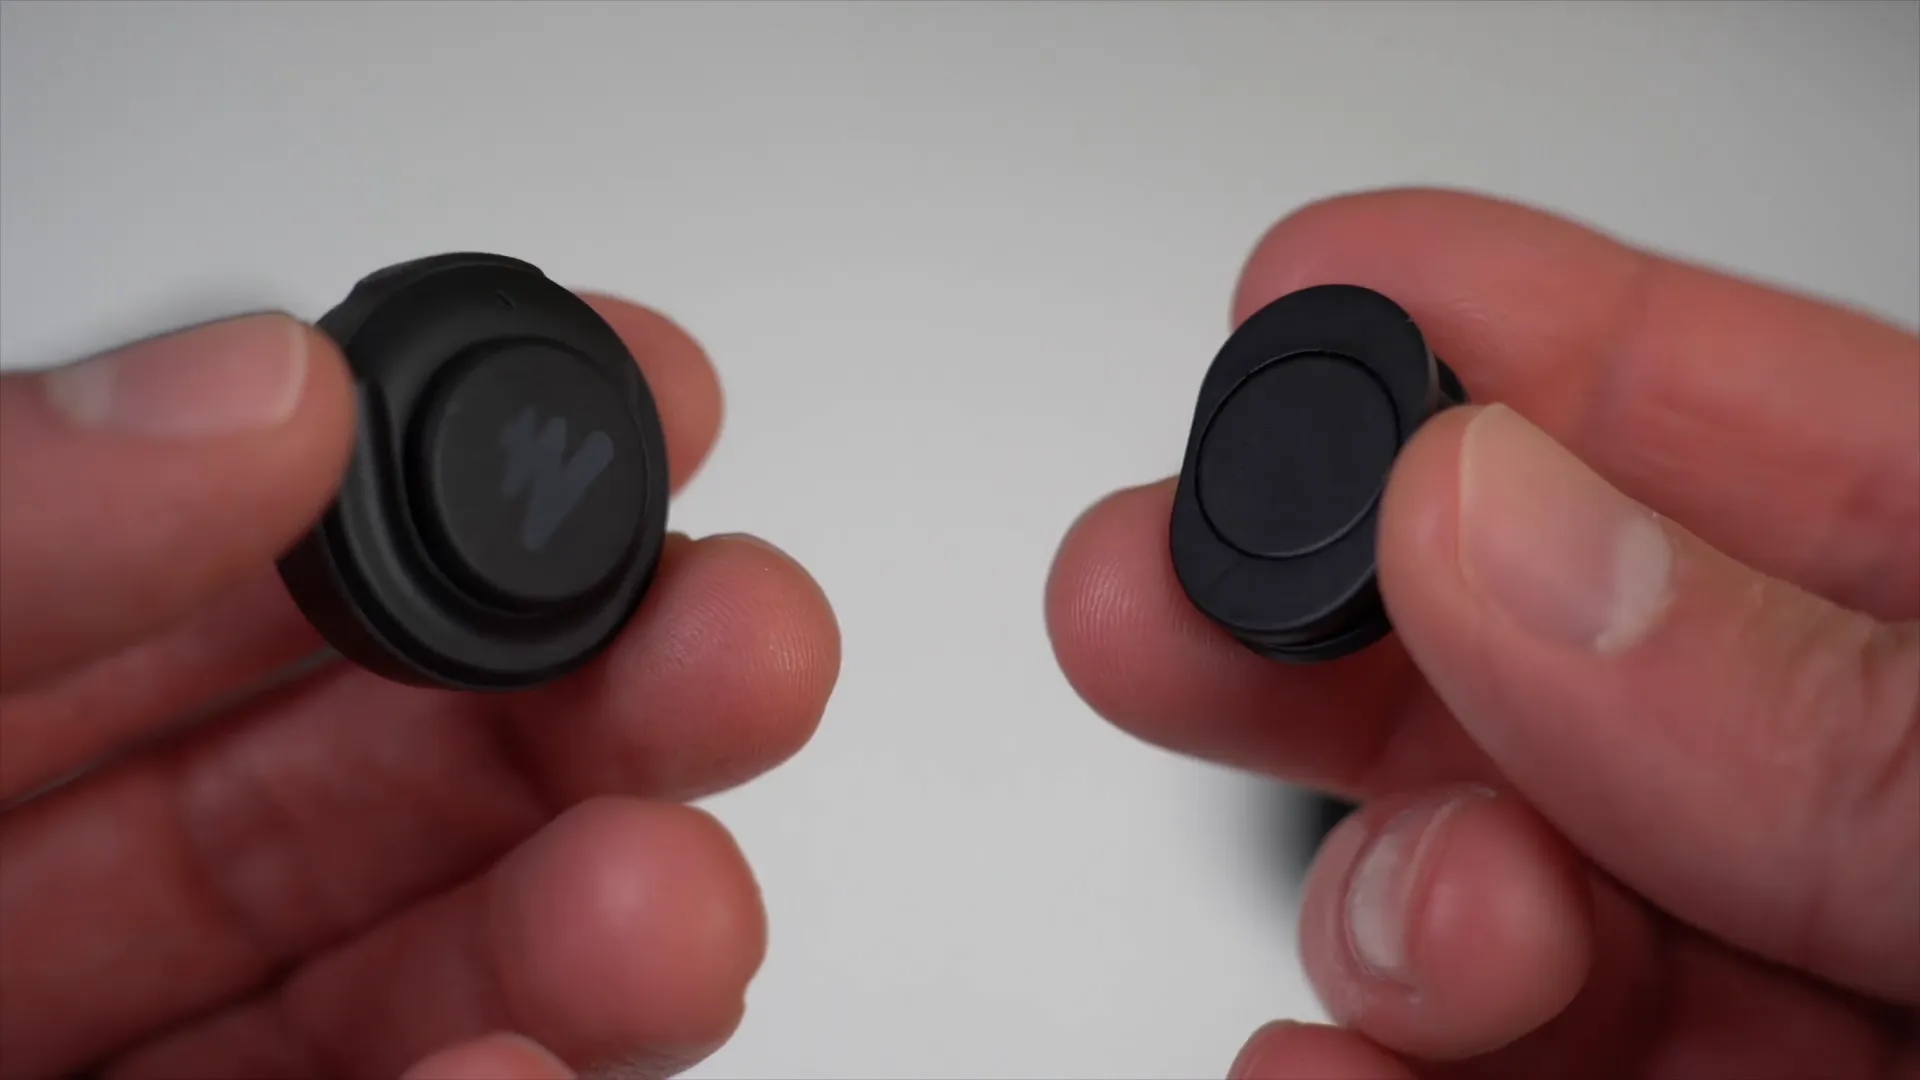
Testing the mic outdoors, I clipped the transmitter to my shirt and connected it to my iPhone, recording audio through the Voice Memo app. Despite being about 15 feet away from the camera and in an outdoor environment with wind and birds, the mic captured clear audio at a low speaking tone.
Moving further away, approximately 30 feet from the camera, the audio quality remained impressive. This distance performance is excellent for a budget wireless mic system.
Activating the noise cancellation feature made a significant difference, especially near a busy road where traffic noise was present. The noise reduction effectively minimized background sounds, enhancing the clarity of the recorded voice.
Overall, the Wave T5 impressed me with its audio quality, ease of use, and noise handling capabilities. For a budget-friendly mic, it delivers professional-grade sound and reliable performance.
Connecting the Maono Wave T5 to a Camera
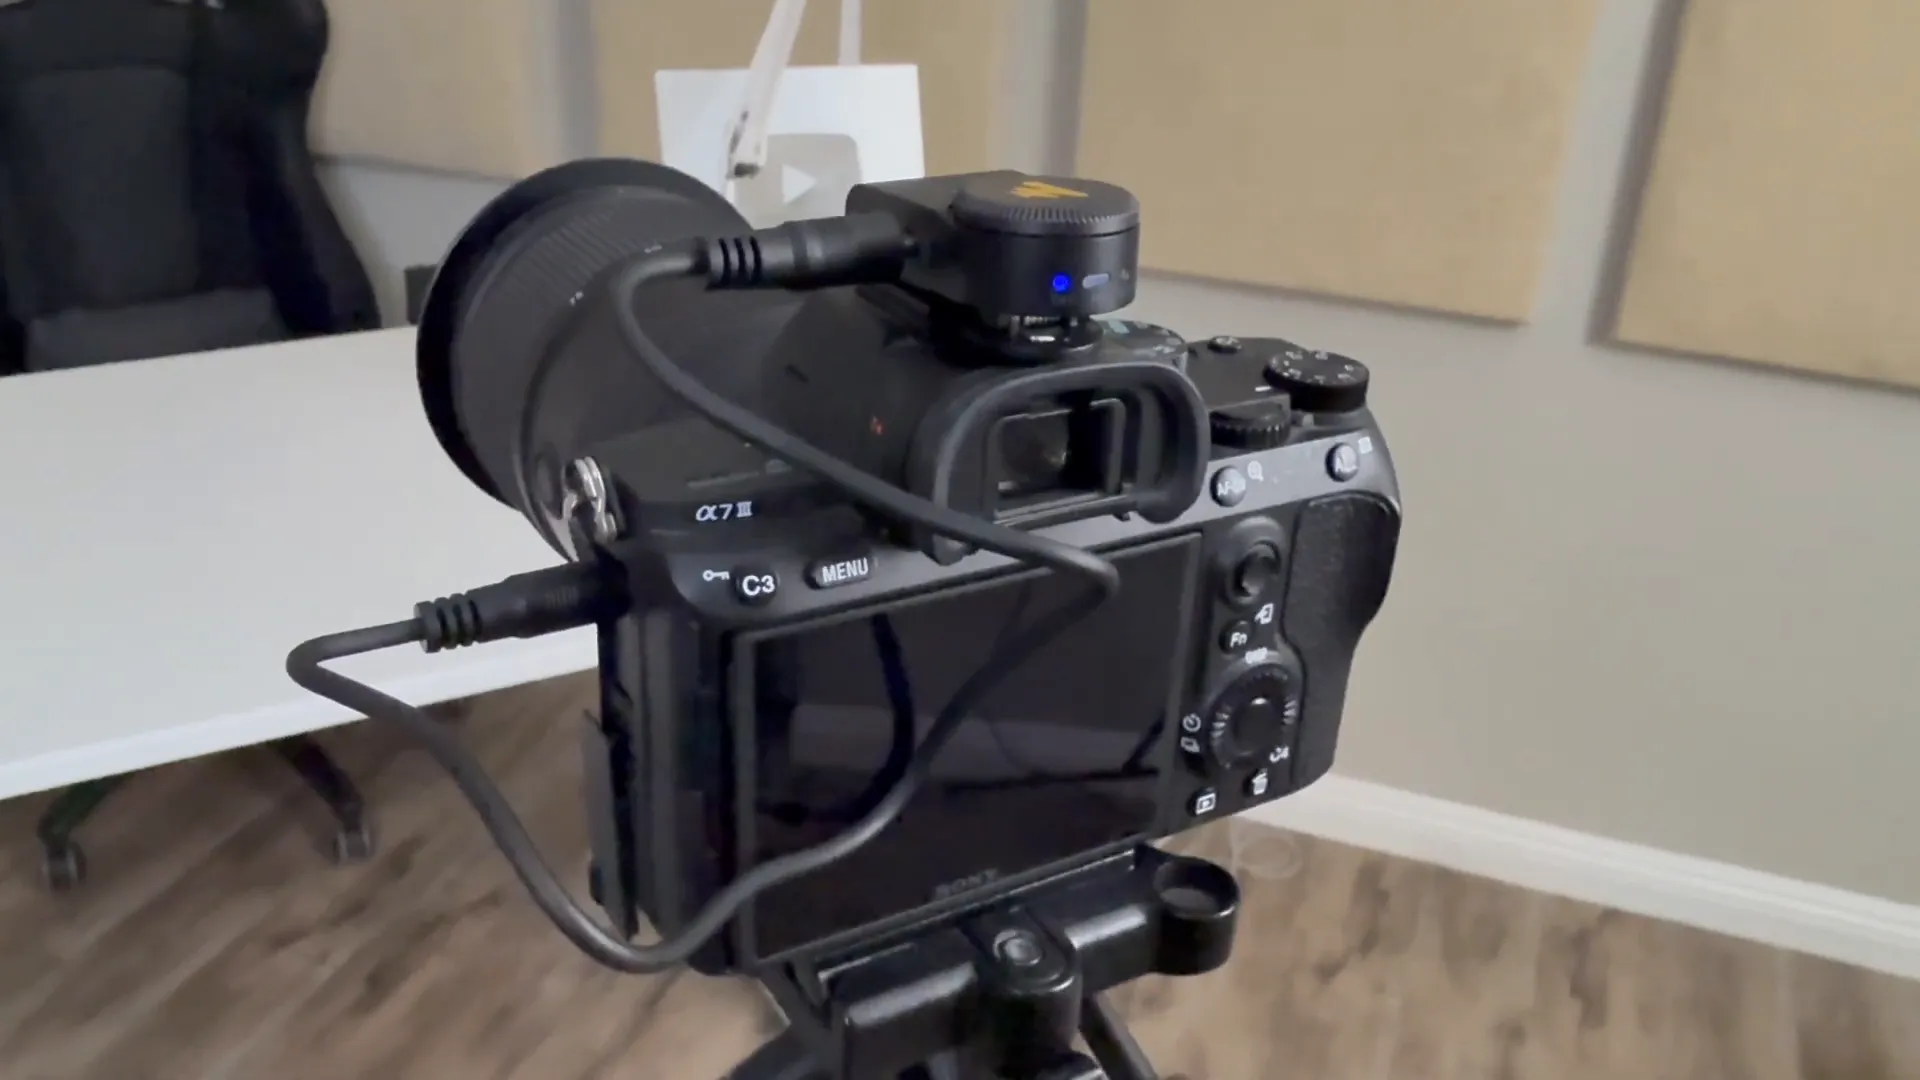
For those shooting with a mirrorless or DSLR camera, the Wave T5 includes a dedicated camera receiver and a 3.5 mm TRS cable to connect the system directly to your camera’s microphone input.
Here’s the setup process, demonstrated with a Sony A7 III:
- Attach the camera receiver to the camera’s hot shoe mount using the built-in clip.
- Use the volume and gain control knob on the receiver to adjust microphone sensitivity. The LED indicators below the knob provide visual feedback on gain levels.
- Connect one end of the 3.5 mm TRS cable to the receiver’s output jack and the other end to the camera’s microphone input, usually located behind a small flap on the camera body.
- Power on the receiver and transmitter. The receiver pairs automatically with the mic, and your camera will now receive wireless audio.
This setup ensures you get clean, high-quality audio directly recorded to your camera, a huge upgrade over built-in microphones.
Final Thoughts on the Maono Wave T5 Wireless Mic System
The Maono Wave T5 wireless lavalier microphone system offers an excellent balance of portability, ease of use, and audio quality, all at an affordable price point. Whether you’re recording on a smartphone or a mirrorless camera, this mic system is designed for creators who need reliable, flexible audio solutions on the go.
Key highlights include:
- Compact and travel-friendly design with a durable carrying case
- Multiple wearing options, including magnetic clips and necklaces
- Simple pairing process with pre-paired transmitters and receivers
- Adjustable gain control and mute functionality
- Effective noise cancellation feature, toggleable on both transmitters and receivers
- Compatibility with a wide range of devices via USB-C and Lightning connectors
For creators looking to upgrade their audio without breaking the bank, the Wave T5 is a compelling choice. It provides professional-grade sound quality, practical features, and a user-friendly experience right out of the box.
If you want to explore the Maono Wave T5 for yourself, it’s currently available on Amazon and directly from Maono’s website. Investing in good audio gear is one of the best steps you can take to improve your video content’s overall quality, and this mic system delivers on that promise.
Happy recording!
Audio quality is one of the most straightforward ways to elevate your video content, whether you’re a content creator, vlogger, or mobile filmmaker. Today, we’re diving deep into the Maono Wave T5 wireless lavalier microphone system, a compact and versatile mic setup designed for creators on the go. This review covers everything from unboxing to setup with both smartphones and cameras, highlighting key features such as gain control, noise cancellation, pairing, and more.
Unboxing the Maono Wave T5: What’s Inside the Box?
The Maono Wave T5 comes in a thoughtfully designed package that caters to portability and ease of use. The version I reviewed is the combo edition, priced around $109 on Amazon, which includes both USB-C and Lightning mobile receivers, making it compatible with a wide range of devices.
Inside the box, you’ll find:
- A branded hard-shell carrying case with a textured finish for grip and protection, featuring the signature Maono logo.
- Two magnetic necklaces that can be worn to attach the mic conveniently.
- A USB-C to USB-A charging cable for powering the case and devices.
- Branded stickers for those who like a bit of flair.
- A user manual and a product list detailing everything included in the mic set.
Opening the protective carrying case reveals a neatly organized interior with mesh compartments for accessories, cables, and the wireless mic components. This setup ensures that everything stays secure and travel-ready.
The complete wireless mic setup includes:
- Two magnetic clips that allow you to attach the transmitters securely to clothing without relying on built-in clips — perfect for clean, professional mic placement.
- Two fluffy wind screens designed to reduce wind noise during outdoor recordings.
- A 3.5 mm TRS to TRS cable for connecting the system to DSLR or mirrorless cameras.
- Two mobile receivers: one with a USB-C connector compatible with Android and newer Apple devices, and another with a Lightning connector for older iPhones.
- The charging case, which holds the two lavalier mic transmitters and the camera receiver, keeping everything powered and organized in a compact form factor.
Closer Look at the Camera Receiver
The camera receiver is built solidly and compact enough to be unobtrusive. On one side, there’s a power and pairing button and a USB-C port for direct charging if needed. The mountback clip allows you to attach the receiver to your camera or rig setup easily.
Flipping to the other side, you’ll find a 3.5 mm TRS output jack to connect the receiver to your camera’s microphone input. Adjacent to this is a switch for toggling between mono and stereo audio modes, letting you customize your recording preference.
Along the bottom are the charging contacts. A quick tip: new units come with a thin plastic film covering these contacts, so be sure to remove it to ensure proper charging.
At the top, there’s a large volume adjustment knob controlling microphone gain, featuring a three-step system (high, medium, low). Turning the knob clockwise increases gain, while counterclockwise decreases it. Just below the knob are indicator lights showing the current gain level.
The status indicator lights are another helpful feature. The TX1 and TX2 lights correspond to the two transmitters:
- Off: mic powered down
- Red: muted
- Green: noise cancellation active
- Blue: mic paired and ready
The center indicator displays the camera receiver’s battery status, letting you know when it’s time to recharge.
Notably, the transmitters and receivers come pre-paired out of the box, so you can start recording immediately. If you ever need to re-pair, holding the power buttons for six seconds while both devices are off will do the trick.
The Transmitters: Compact and Feature-Rich
The transmitters are impressively compact and lightweight, perfect for discreet audio capture. Like the receiver, they have protective films over their charging contacts—remember to peel these off to avoid charging issues.
On one side of each transmitter, there are two main buttons:
- Microphone icon button: This serves as a mute toggle and remote camera shutter control. A short press mutes or unmutes the mic, while a long press can remotely take photos or start/stop video recording when paired with your phone’s camera app.
- Power and noise reduction button: Hold for two seconds to power on or off. A short press toggles noise reduction on or off.
At the top is the built-in microphone, with a status indicator light underneath that shows power, pairing, mute, and noise cancellation status at a glance.
Placing the transmitters back into the charging case is effortless thanks to magnetic pulls that secure them in place. The case’s front battery life indicator illuminates to show the current charge level, with four lights representing full charge.
Charging the Case and Devices
Charging the entire setup is straightforward. Connect the USB-C end of the charging cable to the back of the case, and plug the USB-A end into a wall charger, power bank, or computer. If you lack USB-A ports, you can use a USB-C to USB-C cable or an adapter.
Charging the case powers up all devices inside simultaneously, ensuring your wireless mic system is ready whenever you are.
Pairing and Using the Maono Wave T5 with Mobile Devices
Connecting the Wave T5 to your smartphone is simple. For example, using the USB-C mobile receiver with an iPhone (or the Lightning version for older iPhones), you just plug the receiver into your phone’s port. The receiver’s indicator light will blink, signaling it’s searching for a transmitter.
Removing a transmitter from the charging case initiates automatic pairing. Within seconds, the transmitter’s LED turns solid blue, and the corresponding TX1 or TX2 light on the receiver also turns solid blue, confirming a successful connection.
Once paired, you can record wirelessly with your phone, enjoying much cleaner and more reliable audio than the built-in mic.
When powered on and paired, the transmitter’s status indicator glows solid blue, indicating readiness. Pressing the red mute button once mutes the mic (indicator turns red), and pressing it again unmutes it (indicator returns to blue).
Noise cancellation is toggled by pressing the power button once, turning the indicator green while active. Press again to disable, returning the light to blue.
Additionally, the mobile receiver has a dedicated button underneath that allows quick toggling of noise cancellation without touching the transmitter, a handy feature for on-the-fly adjustments.
How to Wear the Maono Wave T5 Microphone
The Wave T5 offers flexible wearing options to suit your recording style and environment. On the back of each transmitter is a small Maono logo magnet that can be peeled off, allowing you to attach the mic directly to your audio source.
There are two primary ways to wear the mic:
- Magnetic Clip: Use the magnet to clip the mic onto clothing such as collars, lapels, or hats. Alternatively, attach the magnet directly to the subject’s shirt or other apparel. Make sure the microphone screen faces the audio source for optimal sound capture.
- Magnetic Necklace: The kit includes a magnetic necklace with an adjustable length. Attach the mic to the magnet on the necklace, wear it around your neck, and position the mic closer or further from the audio source as needed.
Both options allow for discreet, professional-looking mic placement while ensuring clear audio pickup.
Field Test and Audio Performance
Testing the mic outdoors, I clipped the transmitter to my shirt and connected it to my iPhone, recording audio through the Voice Memo app. Despite being about 15 feet away from the camera and in an outdoor environment with wind and birds, the mic captured clear audio at a low speaking tone.
Moving further away, approximately 30 feet from the camera, the audio quality remained impressive. This distance performance is excellent for a budget wireless mic system.
Activating the noise cancellation feature made a significant difference, especially near a busy road where traffic noise was present. The noise reduction effectively minimized background sounds, enhancing the clarity of the recorded voice.
Overall, the Wave T5 impressed me with its audio quality, ease of use, and noise handling capabilities. For a budget-friendly mic, it delivers professional-grade sound and reliable performance.
Connecting the Maono Wave T5 to a Camera
For those shooting with a mirrorless or DSLR camera, the Wave T5 includes a dedicated camera receiver and a 3.5 mm TRS cable to connect the system directly to your camera’s microphone input.
Here’s the setup process, demonstrated with a Sony A7 III:
- Attach the camera receiver to the camera’s hot shoe mount using the built-in clip.
- Use the volume and gain control knob on the receiver to adjust microphone sensitivity. The LED indicators below the knob provide visual feedback on gain levels.
- Connect one end of the 3.5 mm TRS cable to the receiver’s output jack and the other end to the camera’s microphone input, usually located behind a small flap on the camera body.
- Power on the receiver and transmitter. The receiver pairs automatically with the mic, and your camera will now receive wireless audio.
This setup ensures you get clean, high-quality audio directly recorded to your camera, a huge upgrade over built-in microphones.
Final Thoughts on the Maono Wave T5 Wireless Mic System
The Maono Wave T5 wireless lavalier microphone system offers an excellent balance of portability, ease of use, and audio quality, all at an affordable price point. Whether you’re recording on a smartphone or a mirrorless camera, this mic system is designed for creators who need reliable, flexible audio solutions on the go.
Key highlights include:
- Compact and travel-friendly design with a durable carrying case
- Multiple wearing options, including magnetic clips and necklaces
- Simple pairing process with pre-paired transmitters and receivers
- Adjustable gain control and mute functionality
- Effective noise cancellation feature, toggleable on both transmitters and receivers
- Compatibility with a wide range of devices via USB-C and Lightning connectors
For creators looking to upgrade their audio without breaking the bank, the Wave T5 is a compelling choice. It provides professional-grade sound quality, practical features, and a user-friendly experience right out of the box.
If you want to explore the Maono Wave T5 for yourself, it’s currently available on Amazon and directly from Maono’s website. Investing in good audio gear is one of the best steps you can take to improve your video content’s overall quality, and this mic system delivers on that promise.
Happy recording!

Written by Ben Cummings
Co-Founder of Sage Wave Media
Ben is the Co-Founder of Sage Wave Media, LLC which is the parent company of Blog With Ben. He enjoys teaching, blogging, startups, a hoppy IPA, and college basketball. Whenever he's not blogging, you can find him cruising around sunny San Diego with his amazing family.
0 Comments