STEP-BY-STEP VIDEO ON HOW TO CREATE HIGH QUALITY CONTENT
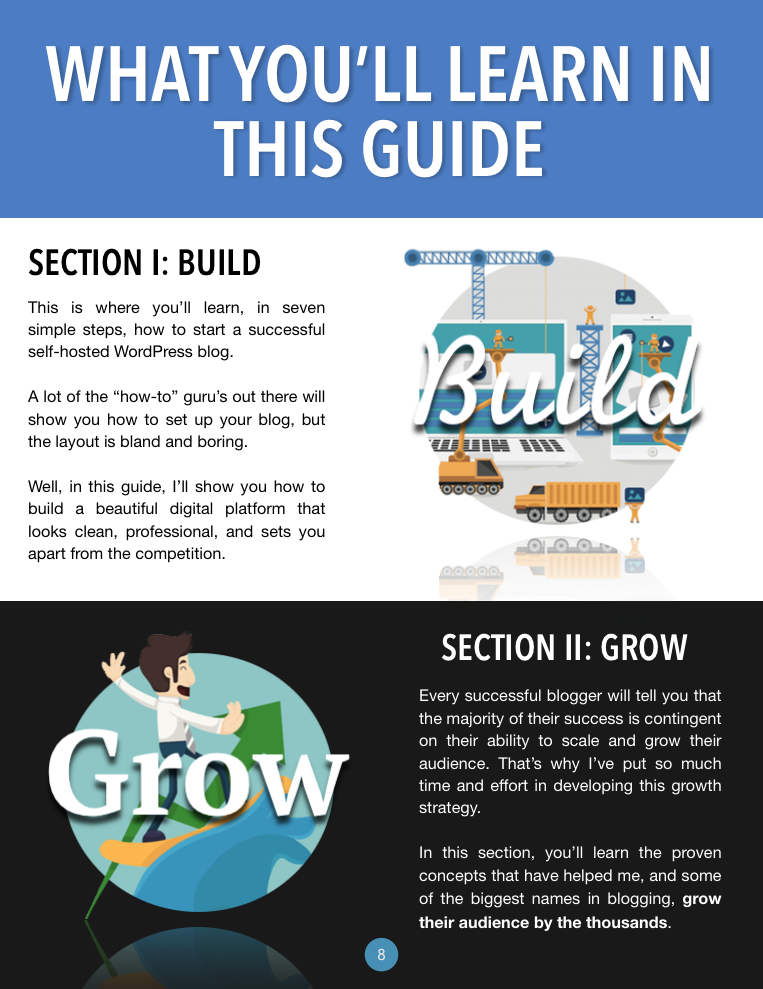
What You'll Learn
- Create Unique and High Quality Content
- Add Media and Featured Images
- Add Tags and Categories
- Create a Hyperlink
- Create an SEO Snippet
- Create and Embed a Responsive Video
- Schedule and Publish Blog Posts
- Start Sharing Valuable Content With the WORLD!
STEP-BY-STEP VIDEO ON HOW TO CREATE HIGH QUALITY CONTENT
What You'll Learn
- Create Unique and High Quality Content
- Add Media and Featured Images
- Add Tags and Categories
- Create a Hyperlink
- Create an SEO Snippet
- Create and Embed a Responsive Video
- Schedule and Publish Blog Posts
- Start Sharing Valuable Content With the WORLD!
Jump to a specific step by clicking on the links below:
Delete Sample Post
Add a New Post
Create Post Title, Permalink, and Read More Button
Embed an Instagram Post
Embed a YouTube Video
Embed a GIF
Add Images
Create Categories
Set Featured Image
Publish Blog Post
House Cleaning Tips
Below is an eleven-part visual walk-through of the video where each step is listed. However, I encourage you to watch the video all the way through because I go into much greater detail in regards to how to implement specific content strategies. So with that being said, let's start blogging!
Delete Sample Post
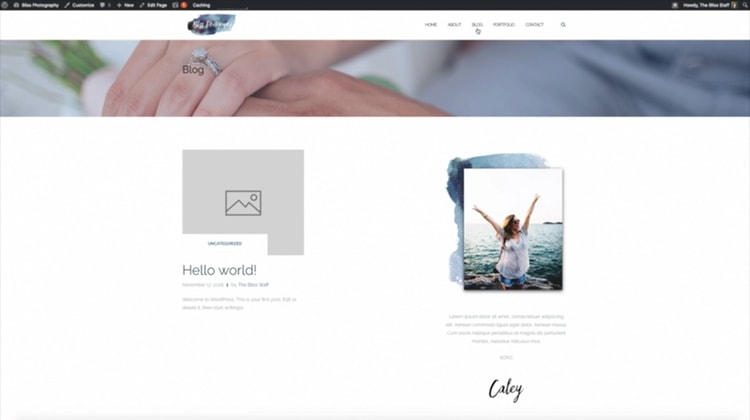
Access your post management page in the WordPress dashboard and move the sample post to the trash.
Add a New Post
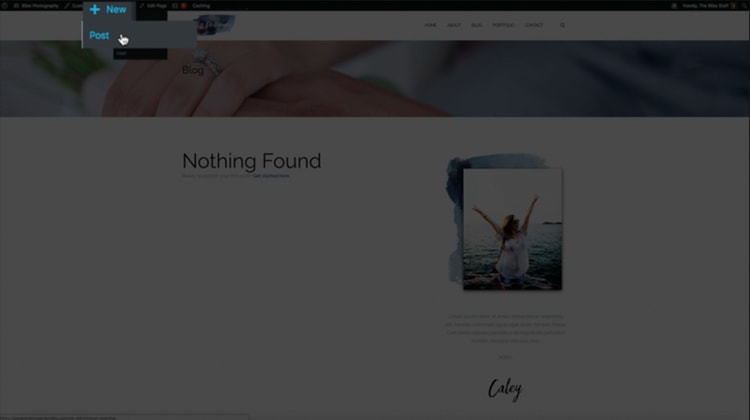
To add a brand new post, simply hover your mouse over the “+ New” tab at the top of the screen and click on “Post”.
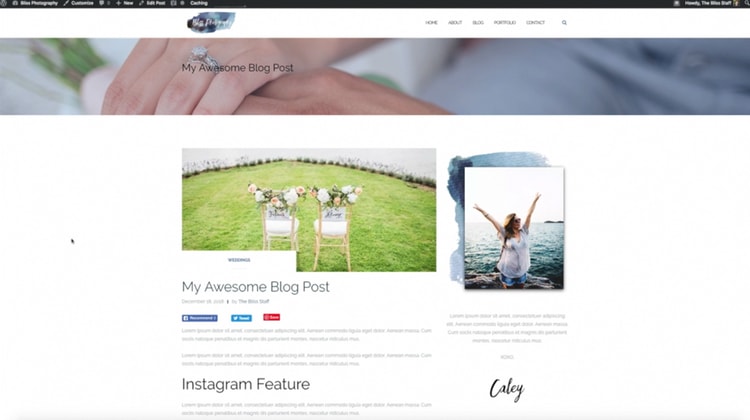
Create Post Title and Permalink
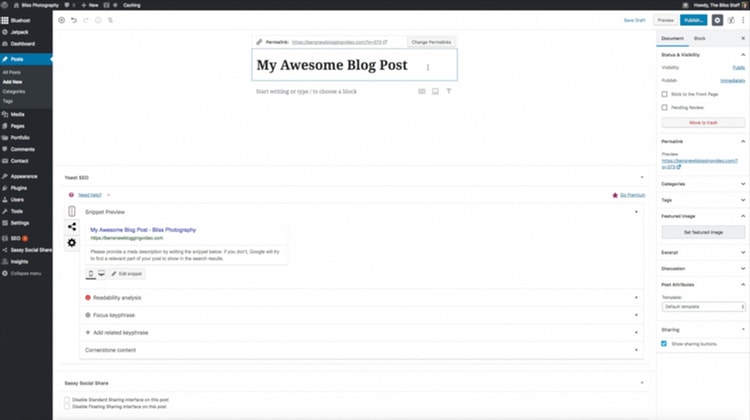
As you begin typing your title, your permalink will automatically be created. If you notice that your permalink isn't using the post title in the URL, save your post as a draft and try again. This will fix the issue and the permalink will display correctly.
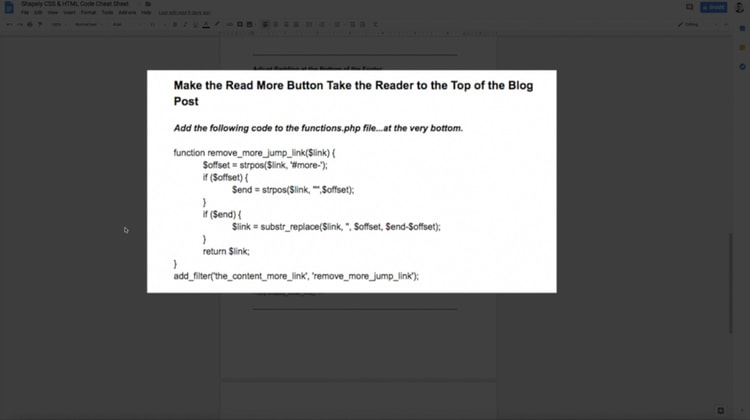
Add Read More Tag
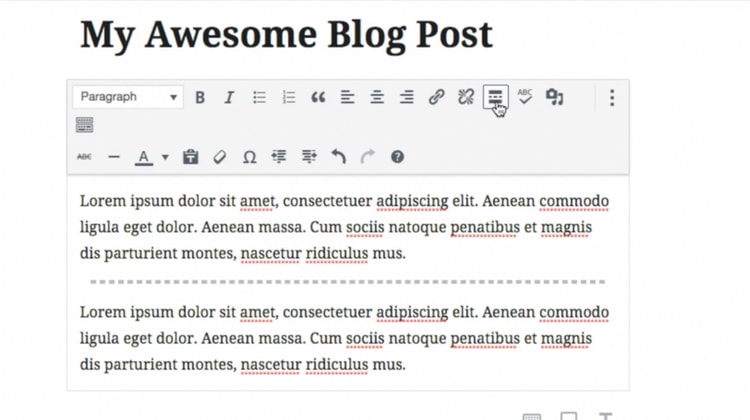
Add a few paragraphs of content by using the “Classic Editor block”, and then place your cursor where you want the “Read More” button to display. Then, click the “Read More” icon to insert the “Read More Tag”.
Embed an Instagram Post
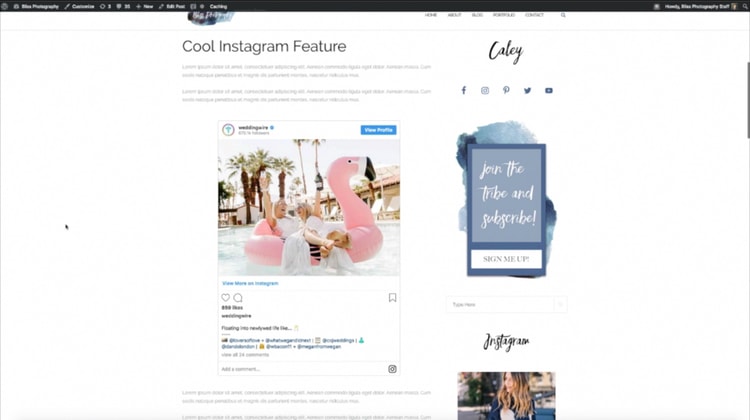
Find an Instagram post you want to embed and access the embed code by clicking on the post and copying the code. Then head back to the WordPress editor, add the custom HTML block, and paste the code within the block.
Embed a YouTube Video
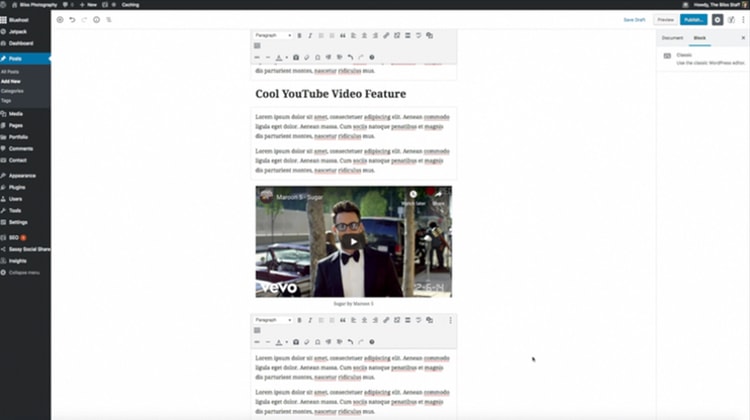
Find the YouTube video you want to embed, open the share options, and copy the share link. Then head back to the blog, add the YouTube embed block, and paste the link from YouTube.
Embed a GIF
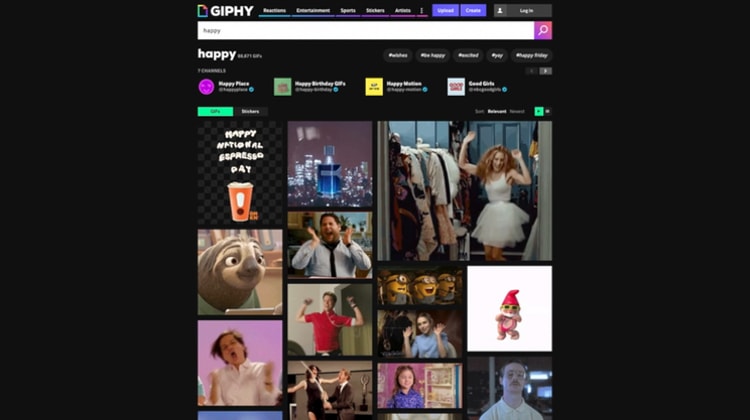
Nowadays you can literally find thousands of funny GIFs to add to your blog. A popular site for GIF is https://giphy.com. This site is my go to when I want to find a GIF. Once you find your gif, you’ll want to grab the source link. So click Media and then copy the link next to where it says source.
Then back at the editor, add the GIF by using the “image block”. This is a creative workaround that allows you to add the GIF within the content.
Add Images Within the Post
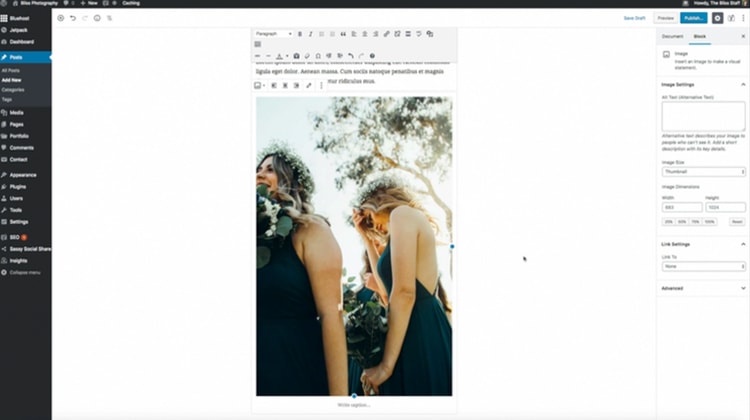
Upload and add images to use in your media gallery. Be sure to pay attention to the display settings so that you can switch up the size and alignment of each photo you use within the post.
Create Categories
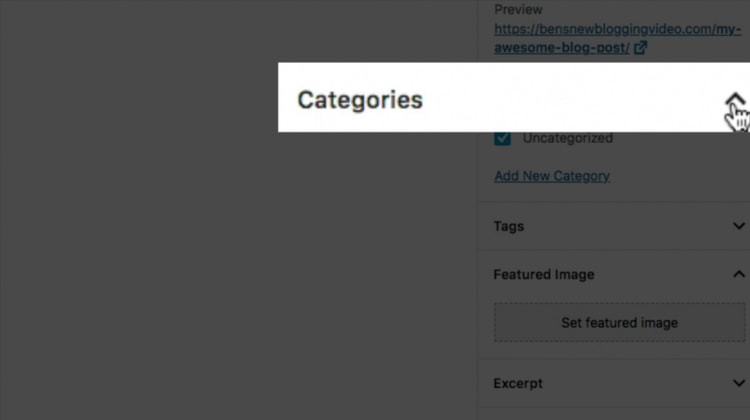
By default, every post will be added to the “Uncategorized” category, so you’ll want to get into the habit of adding all of your blog posts to categories. To add your first category, click the add new category link within the WordPress editor, and then in the field provided, type in the name of the category.
Set Featured Image
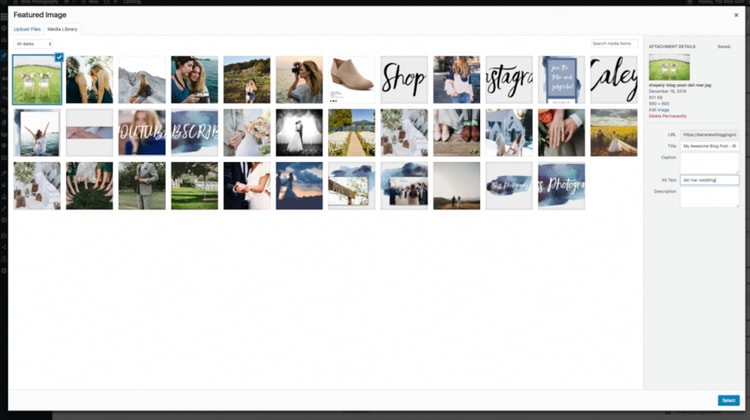
Click the “featured image tab” to open up the settings within the WordPress editor. Then simply follow the prompts to add the image via your media gallery.
Publish a Blog Post
To make your blog post live for the world to see, simply click the publish button. However, I recommend you preview it before you make it live. Either way, click the “Publish” button to publish your blog post.
Step 1
Step 1
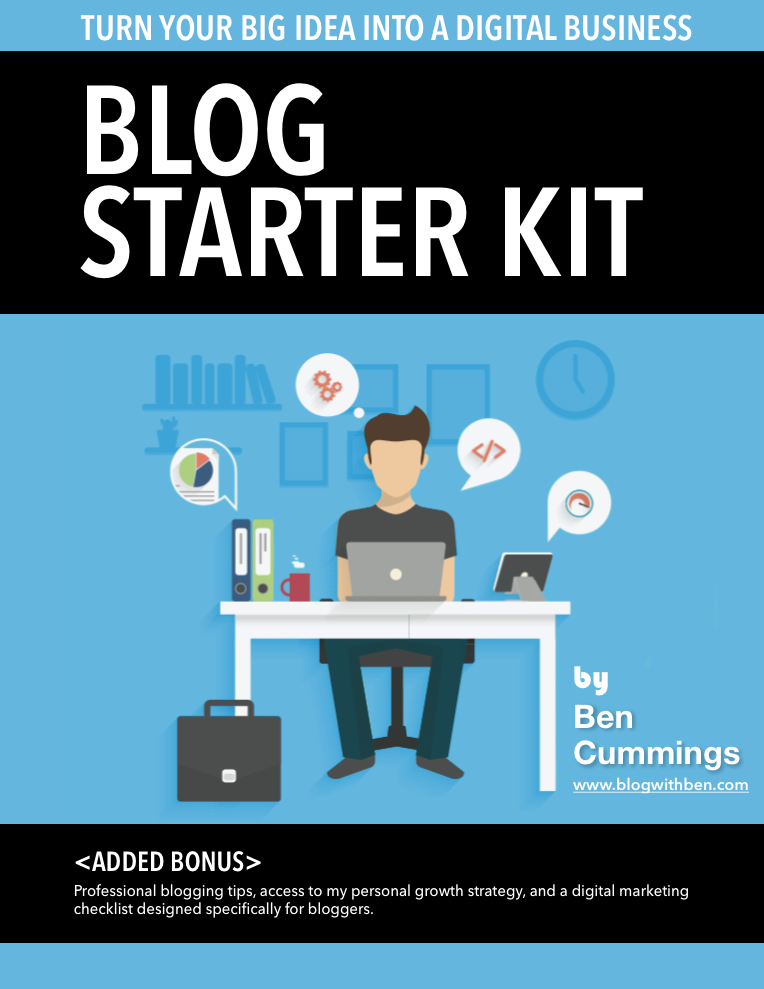
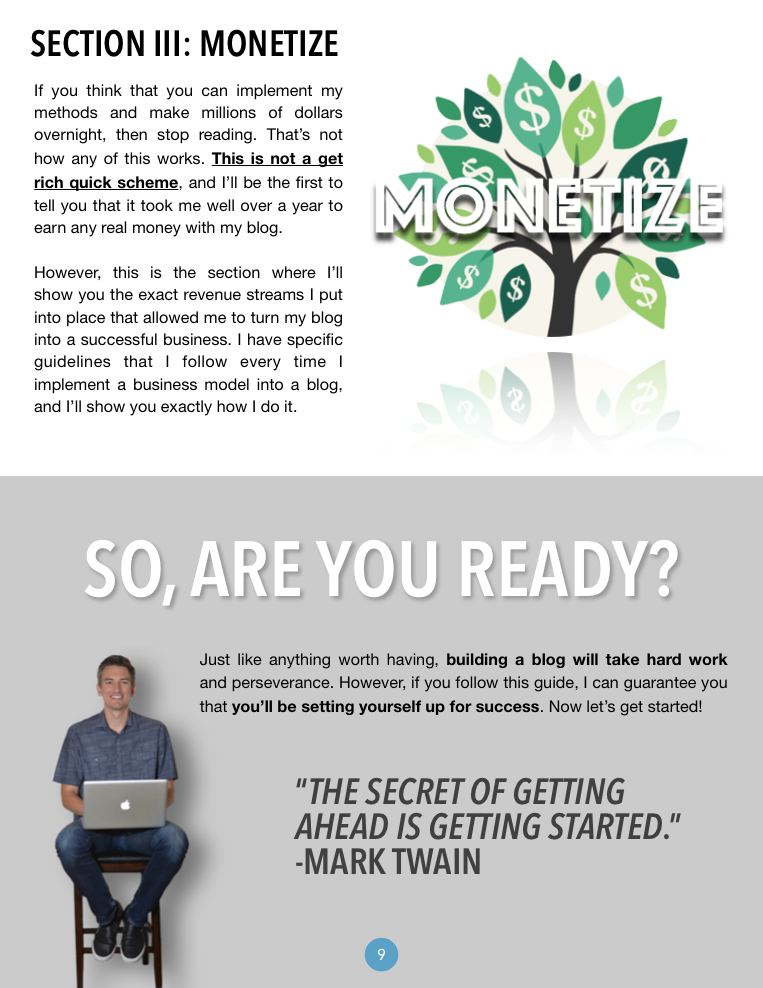
You did it! Congratulations on finishing the blogging course and building your very own self-hosted WordPress blog. This is only the beginning and I’m super excited for what the future holds. If you haven’t done so already, be sure to grab your free copy of the Blog Starter Kit. This free guide is filled with 70+ pages where I show you step-by-step how to grow and monetize your blog as well. Good luck, and here’s to your continued success!