How to Install a Free WordPress Theme
First things first, you'll need to have your self-hosted blog set up before you can install a WordPress theme. If you haven't done so already, head on over to my How To Start A Blog page and I'll get you up to speed. If you already have your blog set up, then you're at the right place.
Installing your first WordPress theme can be confusing and overwhelming at times. It's almost as hard as choosing what to watch on Netflix! But once you find that perfect theme, your blog will take on a life of it's own.
I like to think of my blog as a car, and the theme as the paint job. It's the paint job that makes each car unique, and the same goes for WordPress themes. Each theme has a unique feel and layout that can turn any blog into a digital work of art.
When picking out a theme, you'll notice that there are a lot to choose from. Take your time and preview the demo's so that you can get a good idea of how the theme behaves. Your theme should function in a way that is just right for you and your blog. With that being said, here's how to add and install a free WordPress theme to your blog.
Step 1: Access the WordPress Theme Directory
First step, you'll need to go to your WP-Admin area (www.yourblogsname.com/wp-admin). Inside your WordPress dashboard, you can view all the free WordPress themes. Just click on Appearance>Themes>Add New and you'll be able to access the WordPress theme directory.
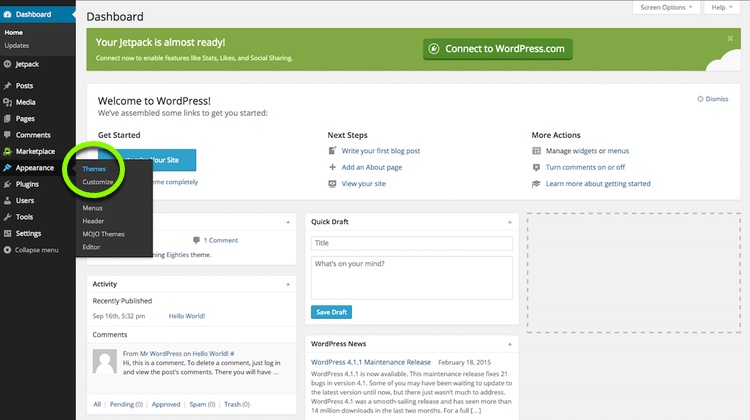
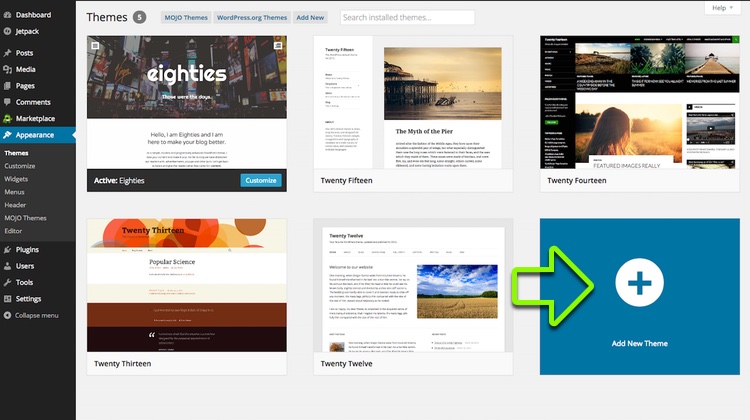
After you click on Themes, just click on the Add New Theme icon to access the WordPress theme directory.
Step 2: Select a WordPress Theme
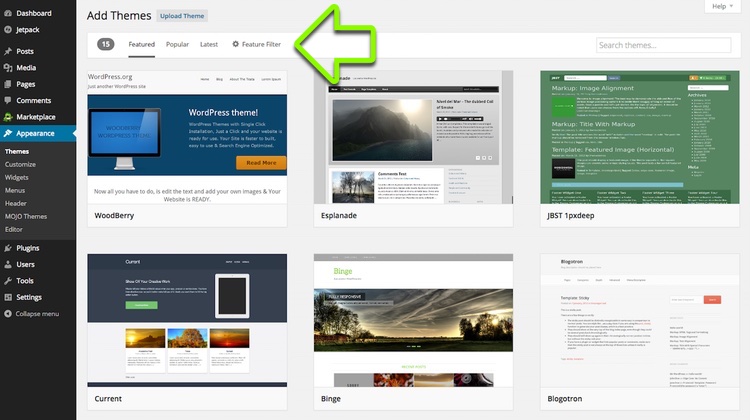
Next, you'll be taken to the WordPress theme directory where you can choose from a variety of themes. As you can see, you have plenty to choose from. Notice that you have the ability to browse through the Featured, Popular, and Latest themes. You can even select the Feature Filter if you already have a specific theme in mind, or want a theme with specific features.
Step 3: Install the WordPress Theme
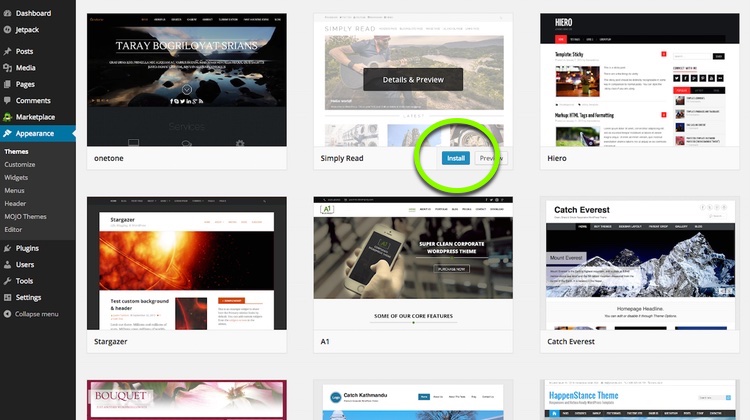
Once you've settled on a specific WordPress theme, hover your mouse over the desired theme and click Install.
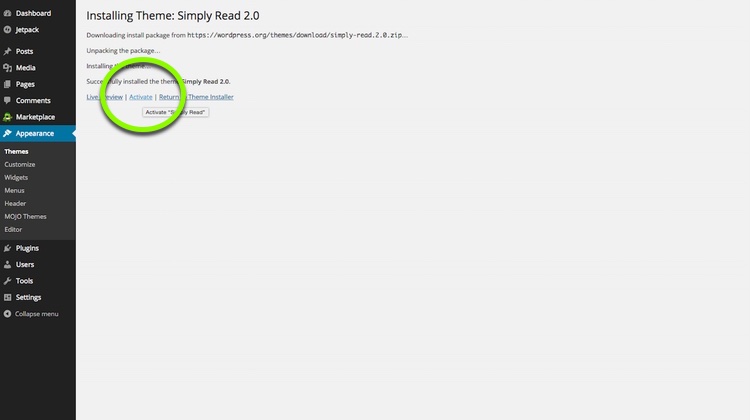
Step 4: Activate the WordPress Theme
After you've clicked Install, WordPress will begin the installation process. This literally takes 3 seconds. Once your theme has been successfully installed, you should see a successful installation message along with a link to Activate your theme. Note that some themes may require additional settings options that you can configure in the theme options panel (Not all themes require this, just be aware of this when you install your theme).
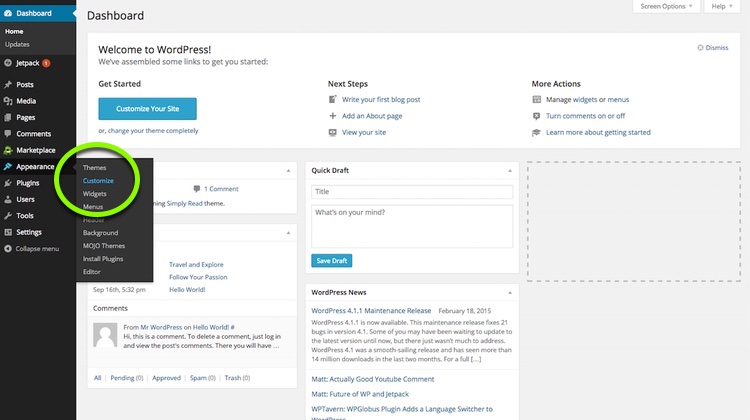
Step 5: Customize the WordPress Theme
Now that your theme is activated, you can customize it to your liking. To customize your newly installed WordPress theme, click on Appearance>Customize.
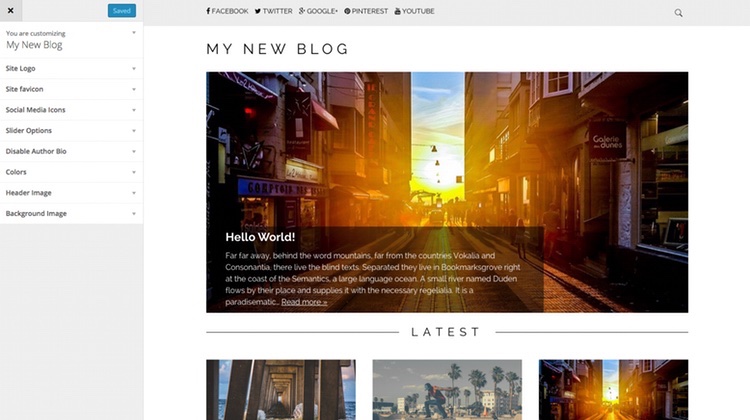
After you click Customize, you'll be taken to your new blog. This is where you can make all the necessary tweaks and adjustments so that your blog can become a digital work of art! Have fun and happy blogging!

Written by Ben Cummings
Founder of blogwithben.com
Ben is a Digital Marketing and CMS Specialist for Bridgepoint Education who holds an MBA with a specialization in Entrepreneurship. He enjoys teaching, blogging, startups, a hoppy IPA, and college basketball. Whenever he's not blogging, you can find him cruising around sunny San Diego with his amazing family.