Unlocking the Power of AI in Blogging with Wix Studio
Unlocking the Power of AI in Blogging with Wix Studio
Imagine being able to create an SEO-optimized blog post in under five minutes without the stress of staring at a blank page or the need to hire a writer. With the AI Blog Post Generator in Wix Studio, this dream becomes a reality. In this guide, I'll walk you through how to access this powerful tool, generate customized posts, and streamline your content creation process.
Getting Started with Wix Studio
To kick things off, let’s dive into the backend of a site I've been working on in Wix Studio. If you’re new to Wix Studio, I highly recommend checking out my other tutorials that detail how to get your site up and running. You can find links to those videos in the description below.
If you're a freelancer or part of a marketing agency, you understand how time-consuming content creation can be. The Wix Studio AI Blog Post Generator is designed to help you generate well-structured blog posts tailored to your brand and audience. This tool not only saves you time but also allows you to deliver high-quality content at scale. Once you grasp the workflow, you can pass this knowledge on to your clients, empowering them to create their own blog posts using AI.
Creating Your First Blog Post
To create a post, navigate to the toolbar and select “My Business.” Ensure you have the Wix blog selected, as this section is tailored for managing your blog content efficiently. You can create engaging posts, organize them into categories, and customize your blog’s layout from this section.
Click on the “Write Your First Post” button, which opens the Wix Studio Blog Post Generator. This powerful tool is designed to help you create high-quality blog posts quickly and efficiently.
The Blog Post Editor
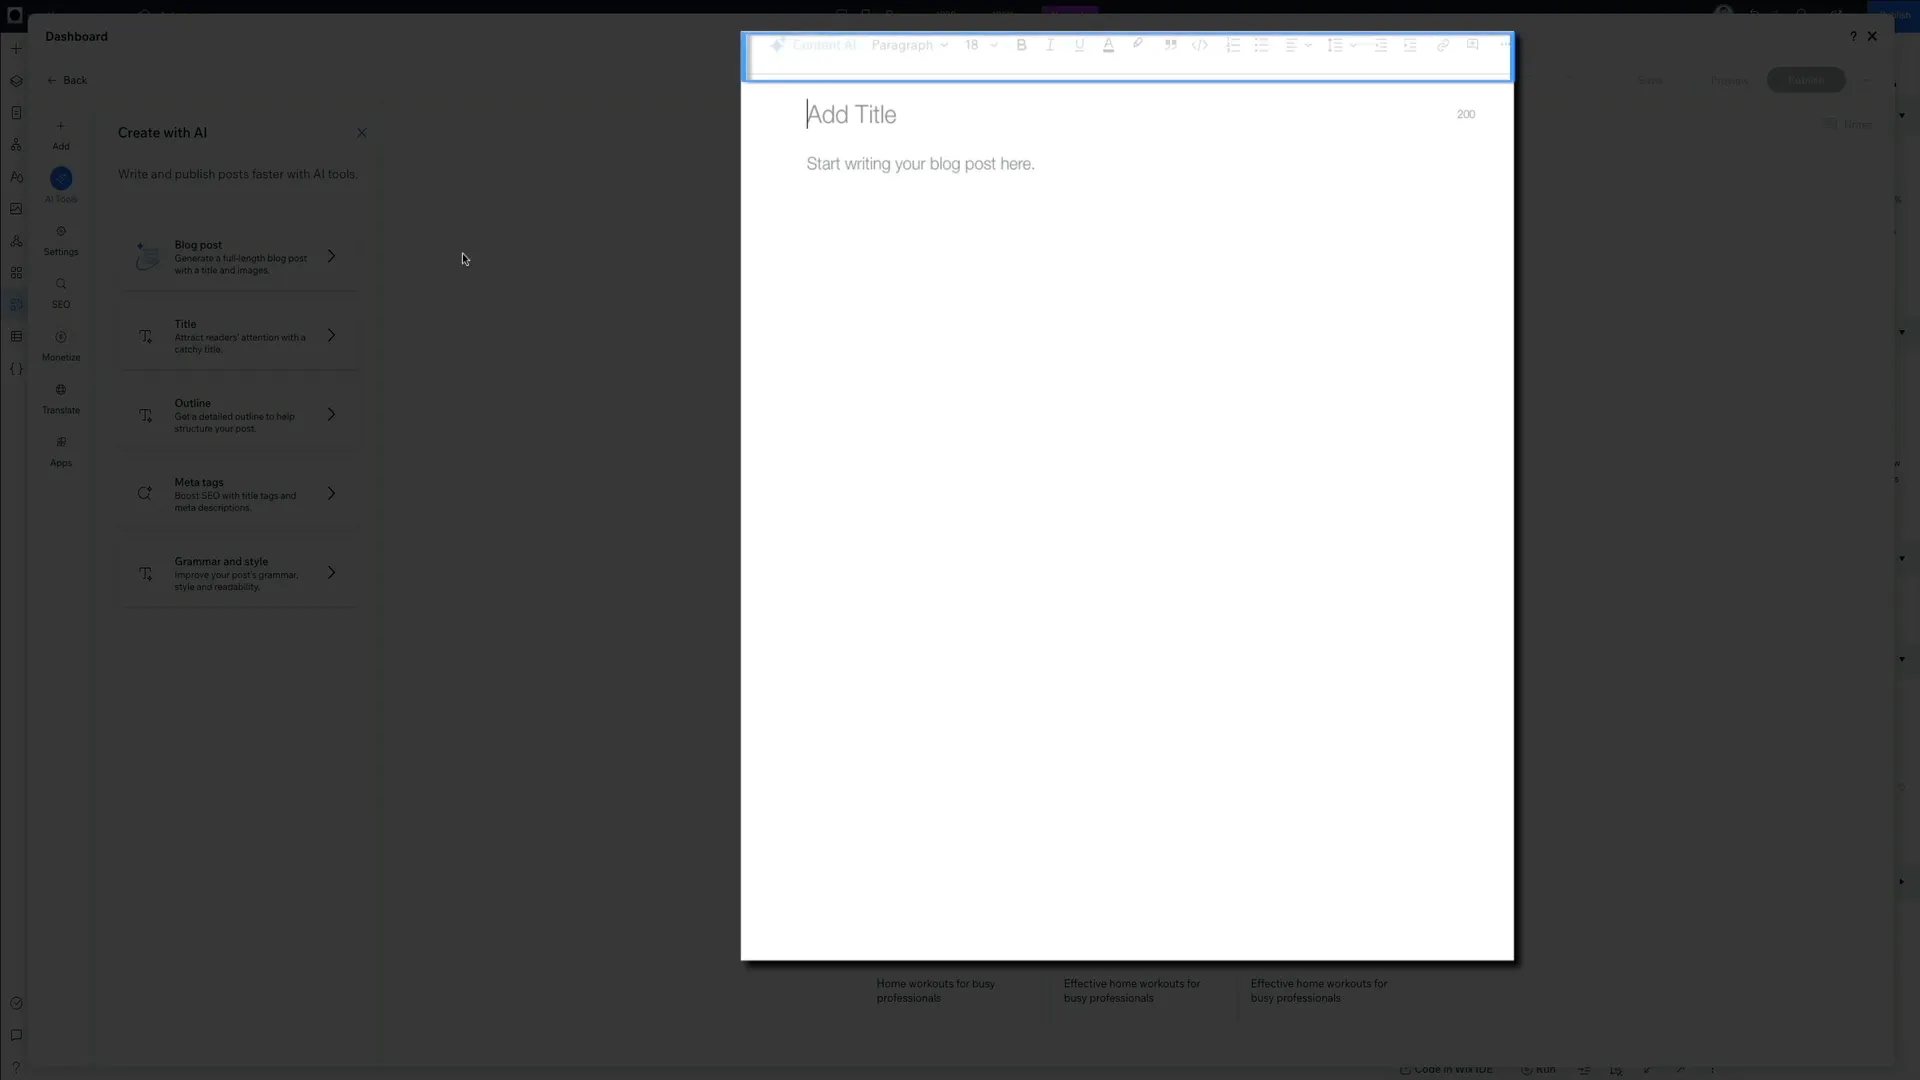
Let’s take a quick tour of the blog post editor. The interface is clean and minimalistic. At the top, you have a title input field where you can enter the title of your blog post. Below that is your main content area, where you’ll start writing. However, the AI will generate most of the content for you, and this is where you can edit it.
In the toolbar, you’ll find various formatting options, an AI-powered writing assistant, and a word count indicator. The AI assistant can help generate content ideas, improve readability, and suggest edits, making it an invaluable tool for anyone looking to streamline their writing process.
Generating Blog Content with AI
We’re living in a new age of content creation, and Wix Studio allows you to leverage AI-driven tools effectively. From the AI tools menu, select “Blog Post,” which opens the AI post creator—currently in beta. There are three main steps in this process.
Step 1: Describe Your Topic
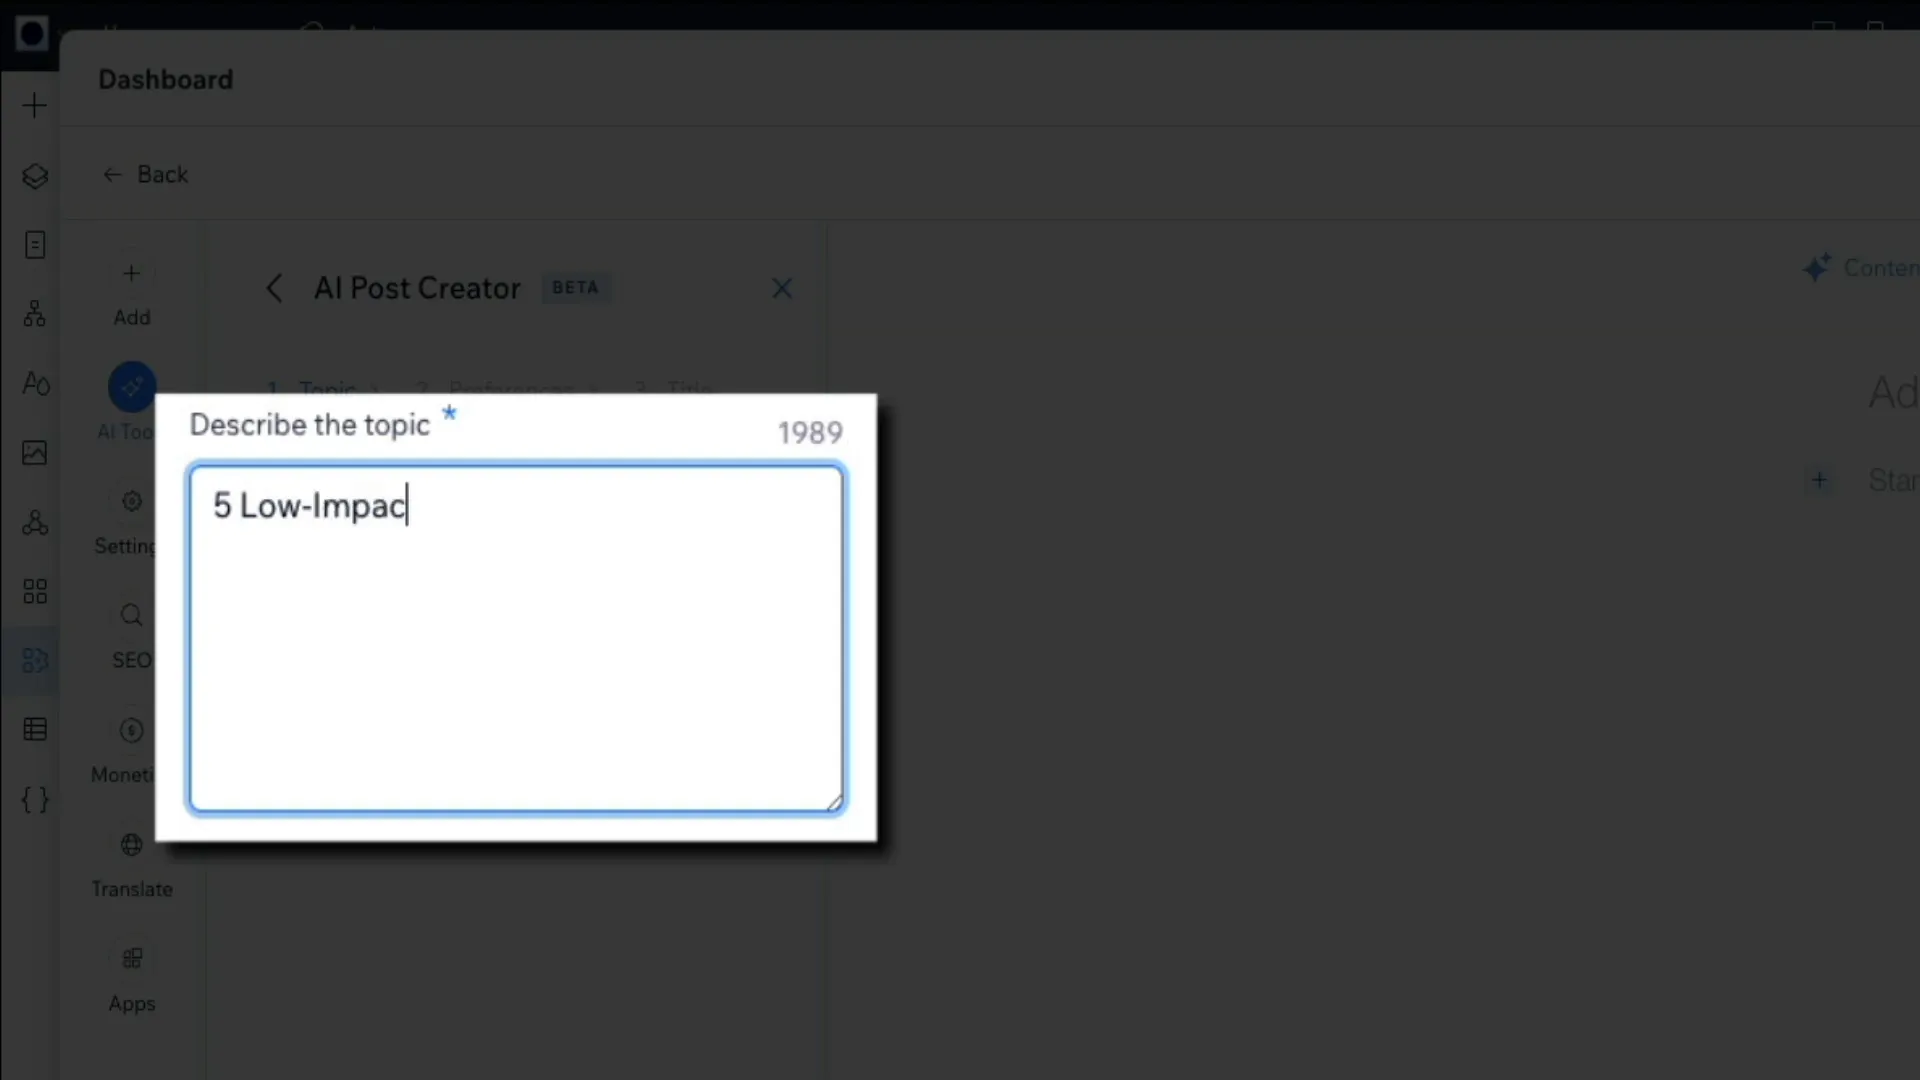
In the first step, describe your desired topic in the input field. For example, I’ll use “Five Low Impact Workouts for Rehab.” After filling that out, click the next button to move on to the preferences section.
Step 2: Set Your Preferences
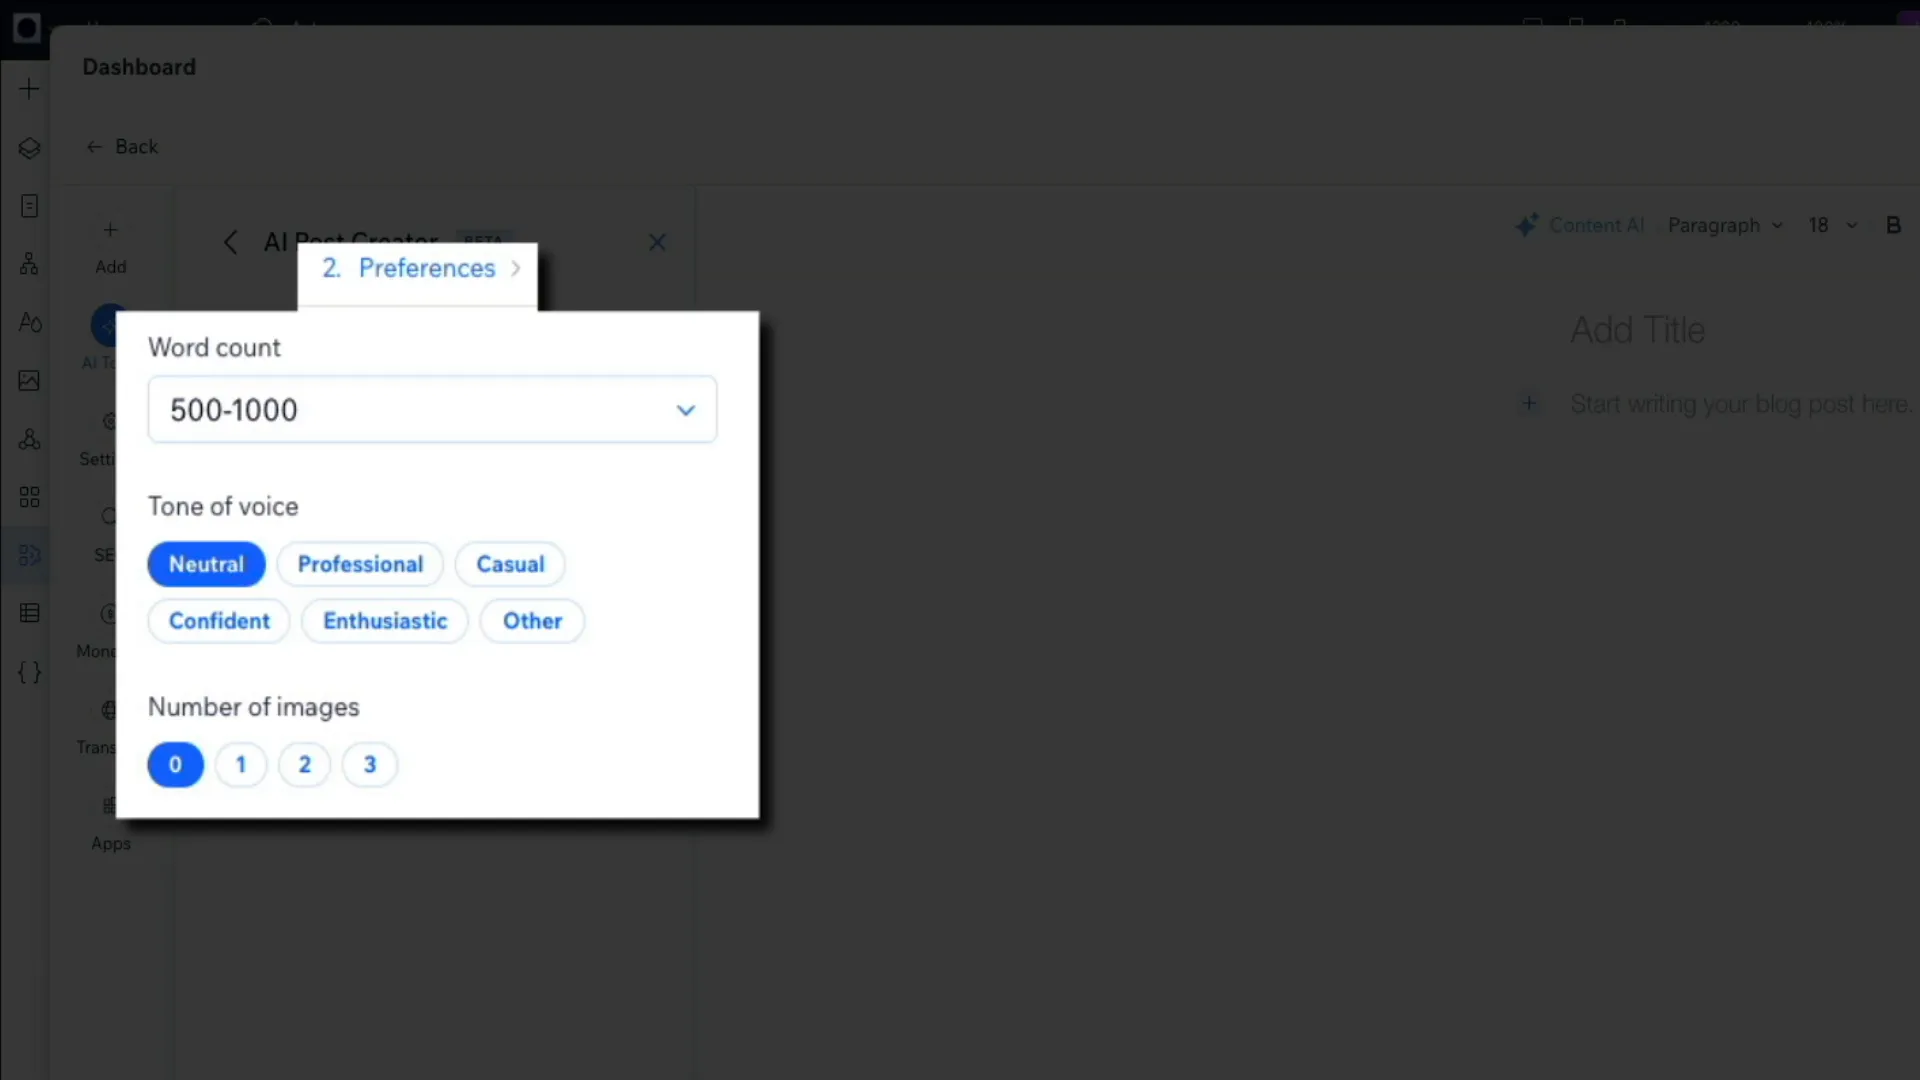
This section allows you to fine-tune your content to match your style, audience, and branding needs. You can set the word count (in this case, between 500 and 1,000 words), choose the tone of voice (neutral, professional, casual, etc.), and decide on the number of images to include in your post—up to three images can be automatically incorporated.
By adjusting these preferences, Wix Studio’s AI ensures that your blog post is tailored to your specifications, providing a customized content creation experience.
Step 3: Crafting the Title
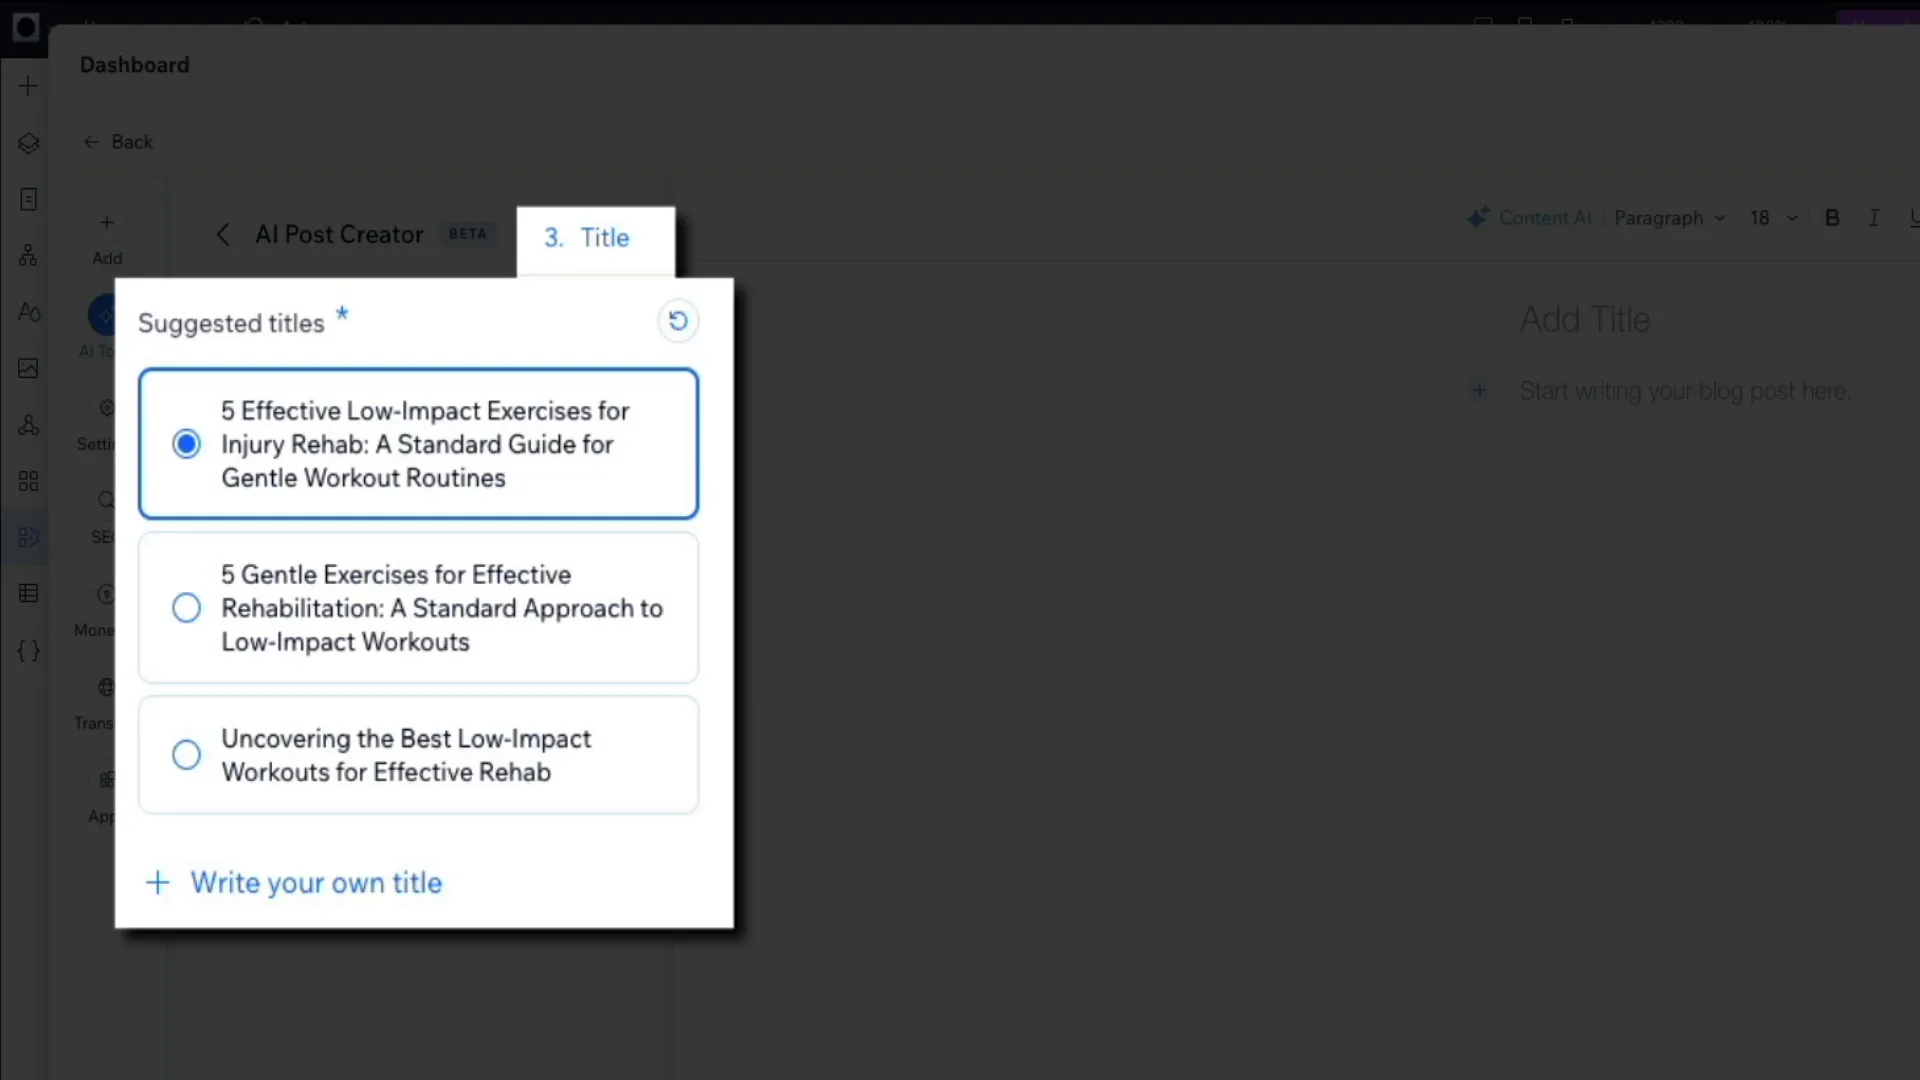
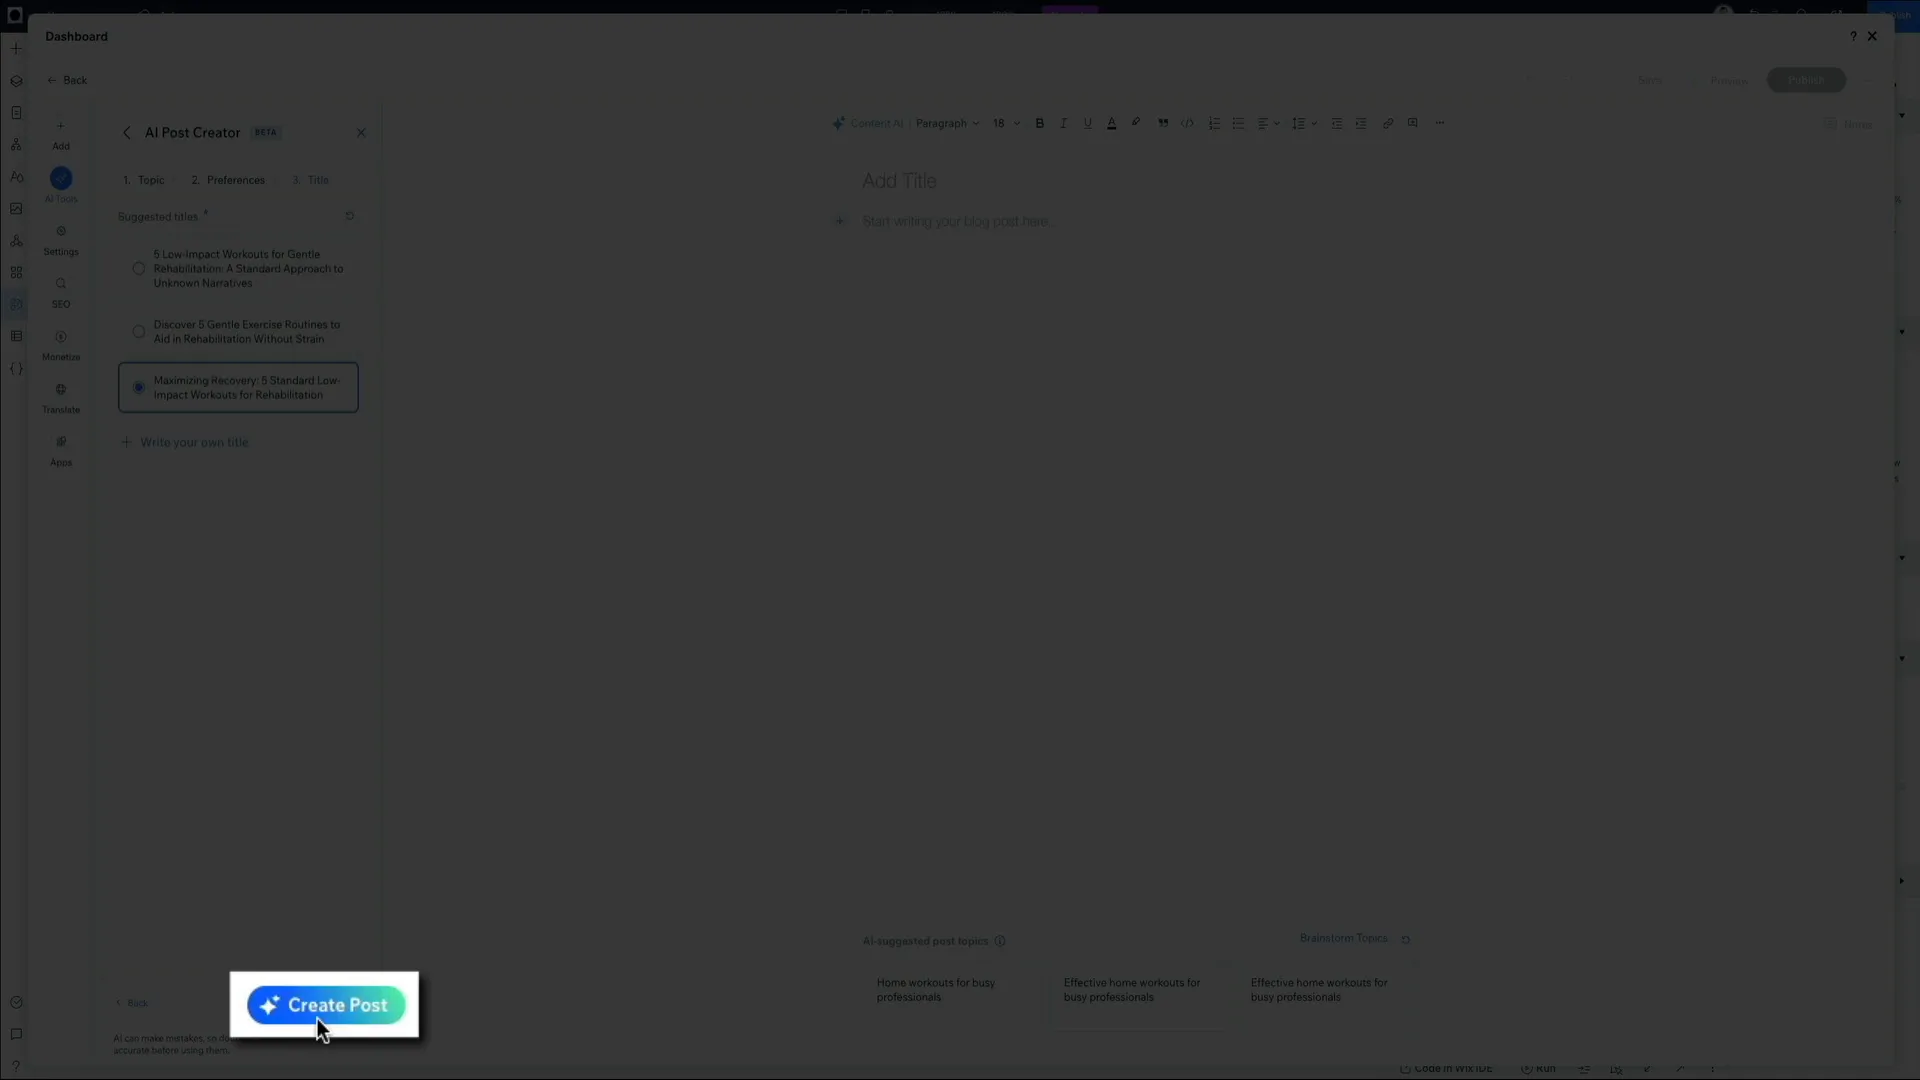
Once you've configured your preferences, you’ll be prompted to define the title for your blog post. Wix provides three AI-generated suggestions to help you craft an engaging title. You can choose one of these options or write your own title. If you’re not satisfied with the suggestions, clicking the regenerate button will give you three new options.
Choosing the right title is crucial as it impacts search results and reader engagement. For this post, I’ve selected “Maximizing Recovery: Five Standard Low Impact Workouts for Rehabilitation.”
Creating the Post
After selecting your title, click the “Create Post” button, and the AI will start generating the content. This process may take up to ninety seconds, so you can sit back and relax while it works its magic.
Voila! Your draft about low impact workouts is ready. The blog post editor within your dashboard serves as your central hub for creating, editing, and managing blog content. Whether you’re starting from scratch or refining an AI-generated draft, this interface is designed for ease and efficiency.
Editing and Customizing Your Post
Everything generated by the AI is customizable. You can add or remove content as needed. For instance, if you want to add some text, just place your cursor in the editor and start typing. Additionally, you’ll notice a sparkle icon that acts as your AI assistant, providing more editing options.
Adding Links
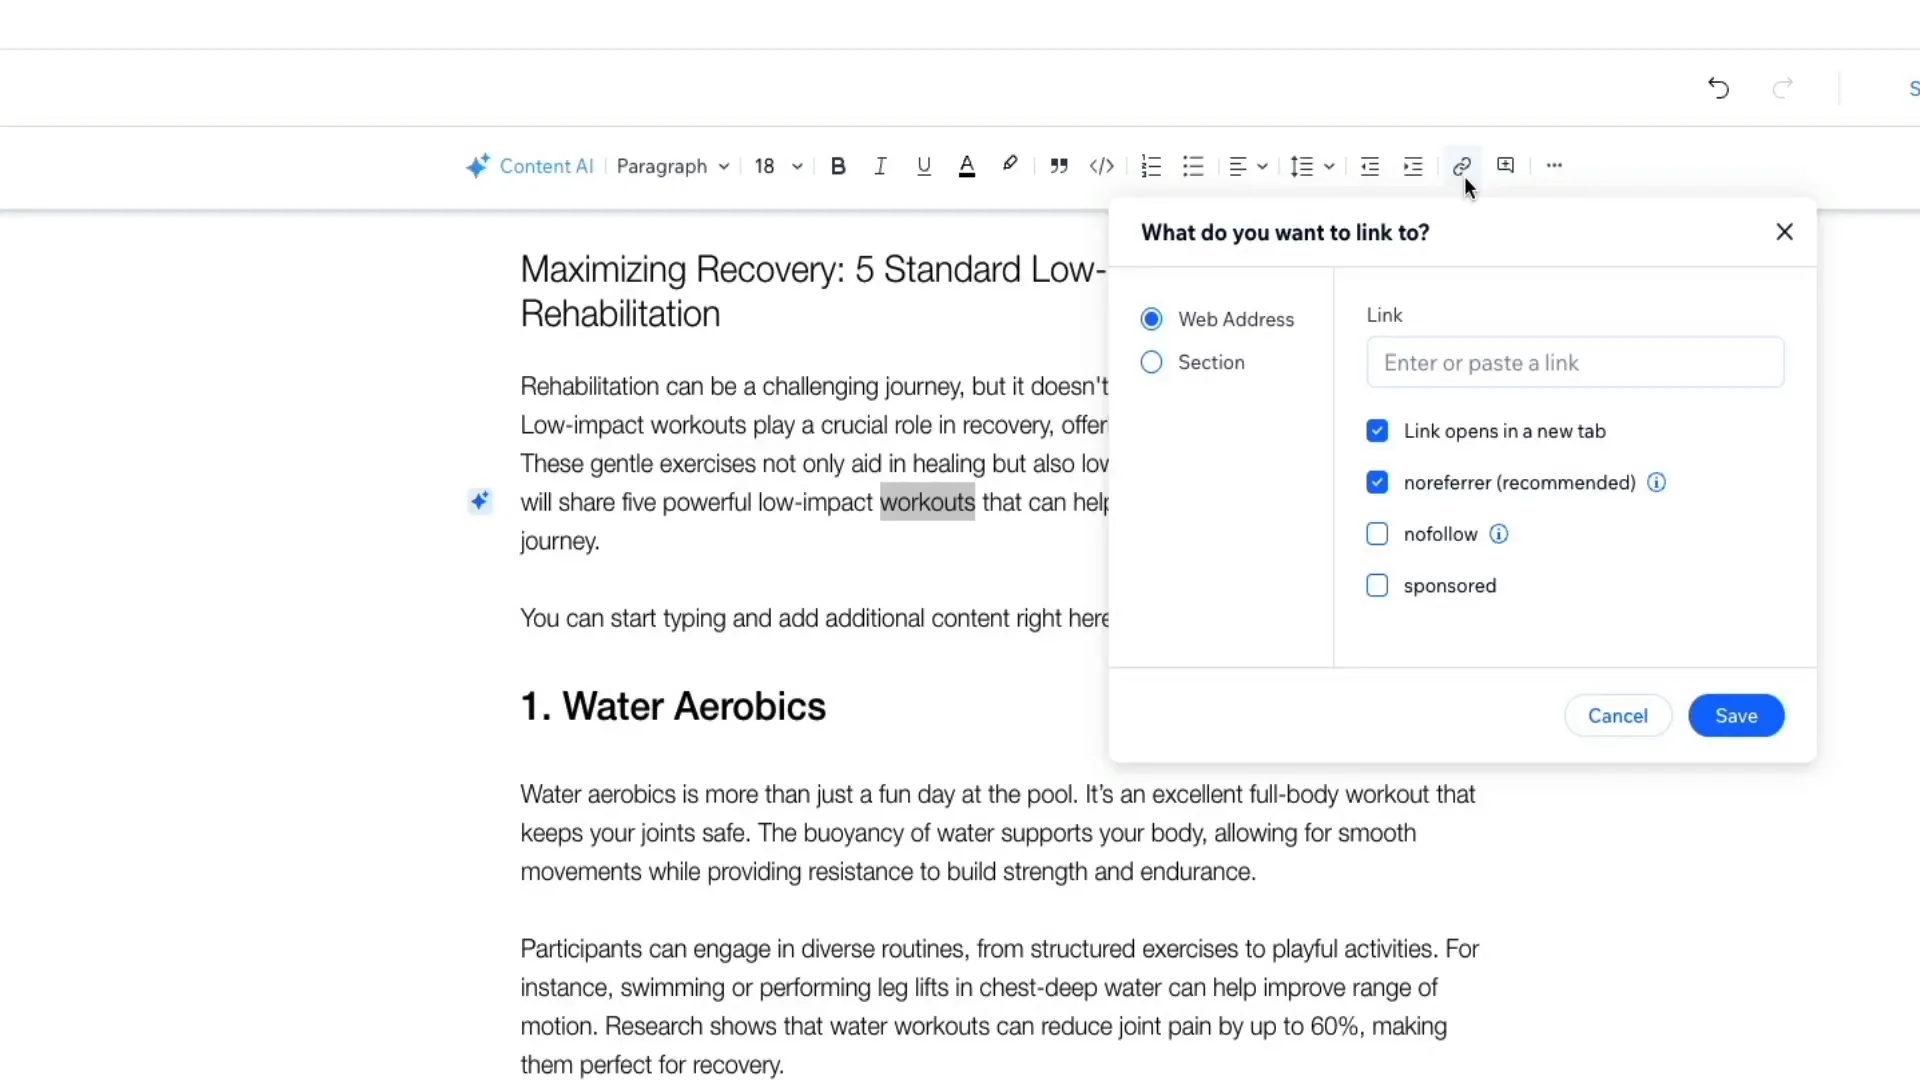
To add an affiliate link, highlight the text you want to hyperlink, select “Link” in the editor toolbar, and input the desired URL. You can customize the link behavior to open in a new tab, ensure no referral information is sent, and more.
Configuring Post Settings
Next, let’s configure your post settings. Click on “Settings” in the toolbar to optimize your content for search engines and social media. This section includes general settings, categories, and tags.
General Settings
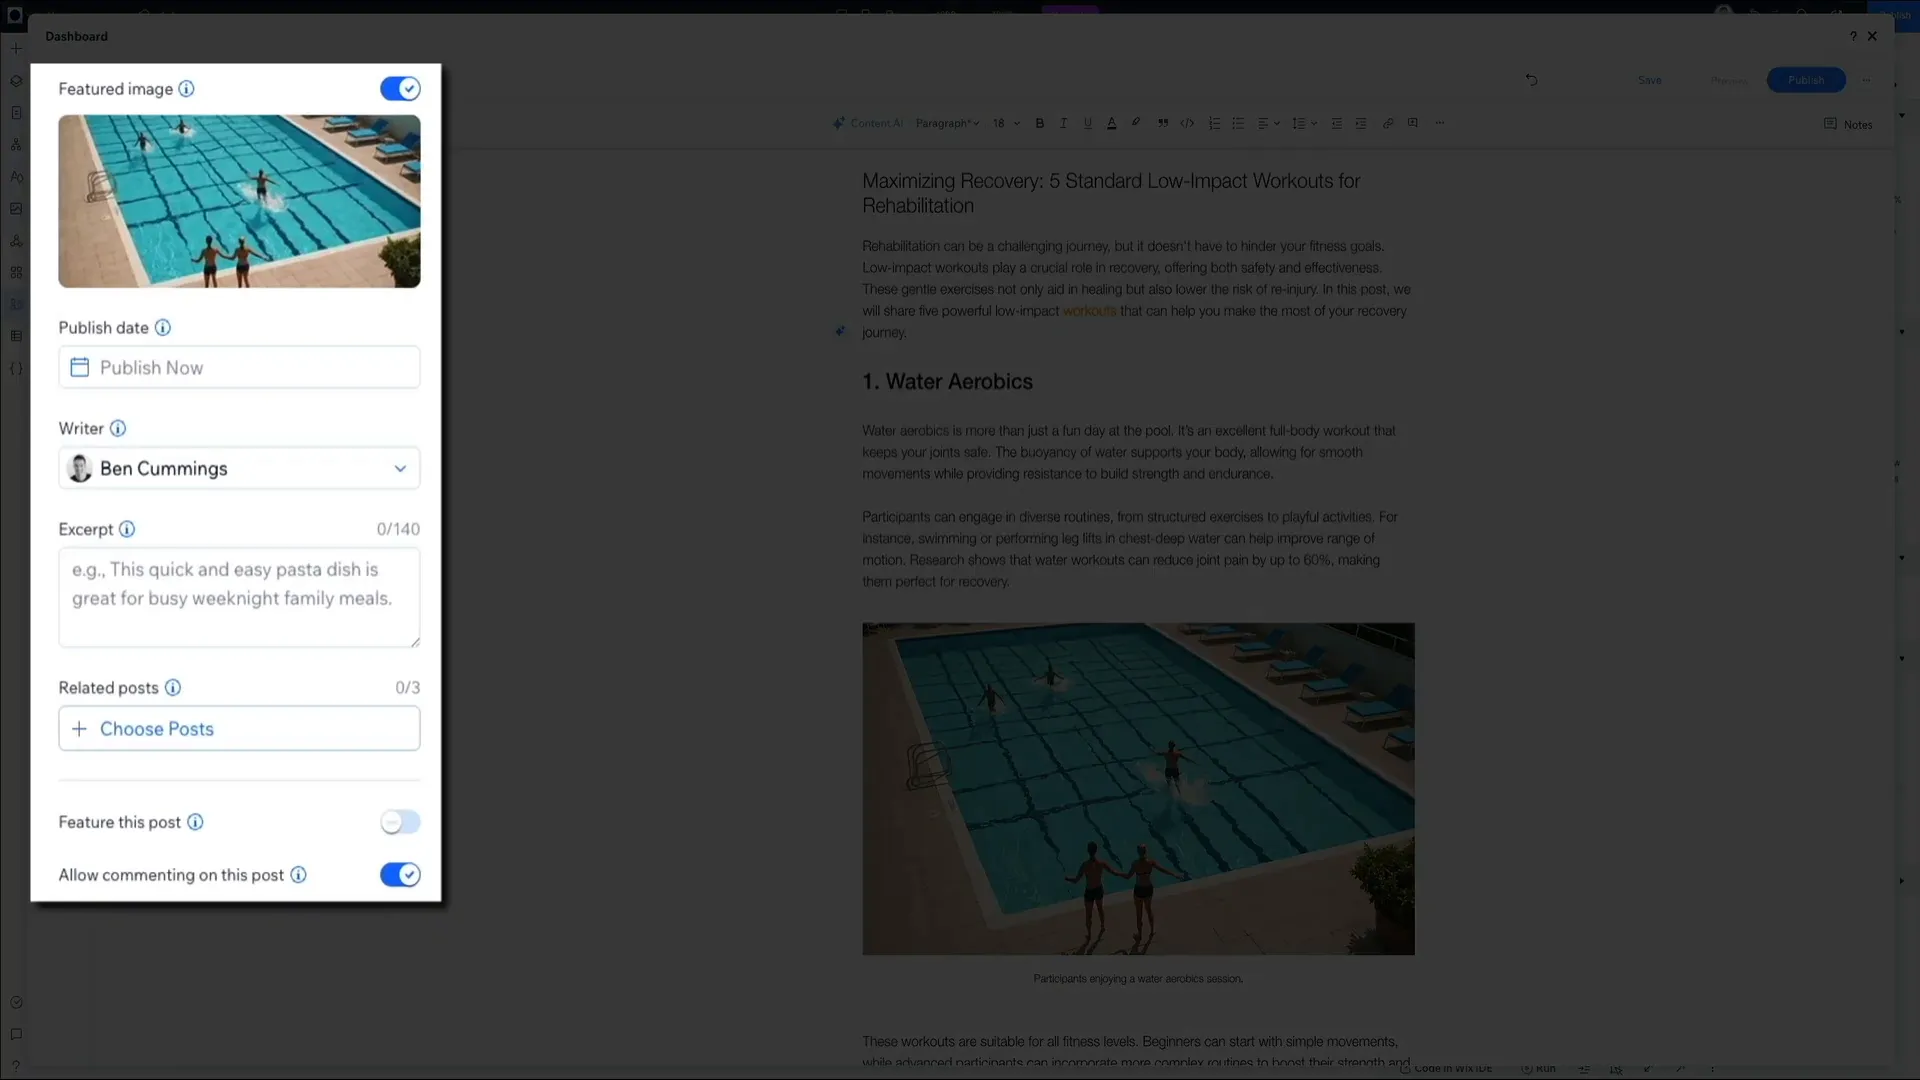
Here, you can edit the featured image, control the publish date, assign the writer, and add a concise summary of the blog post. You can also link to related posts, which encourages readers to explore more of your content.
Categories and Tags
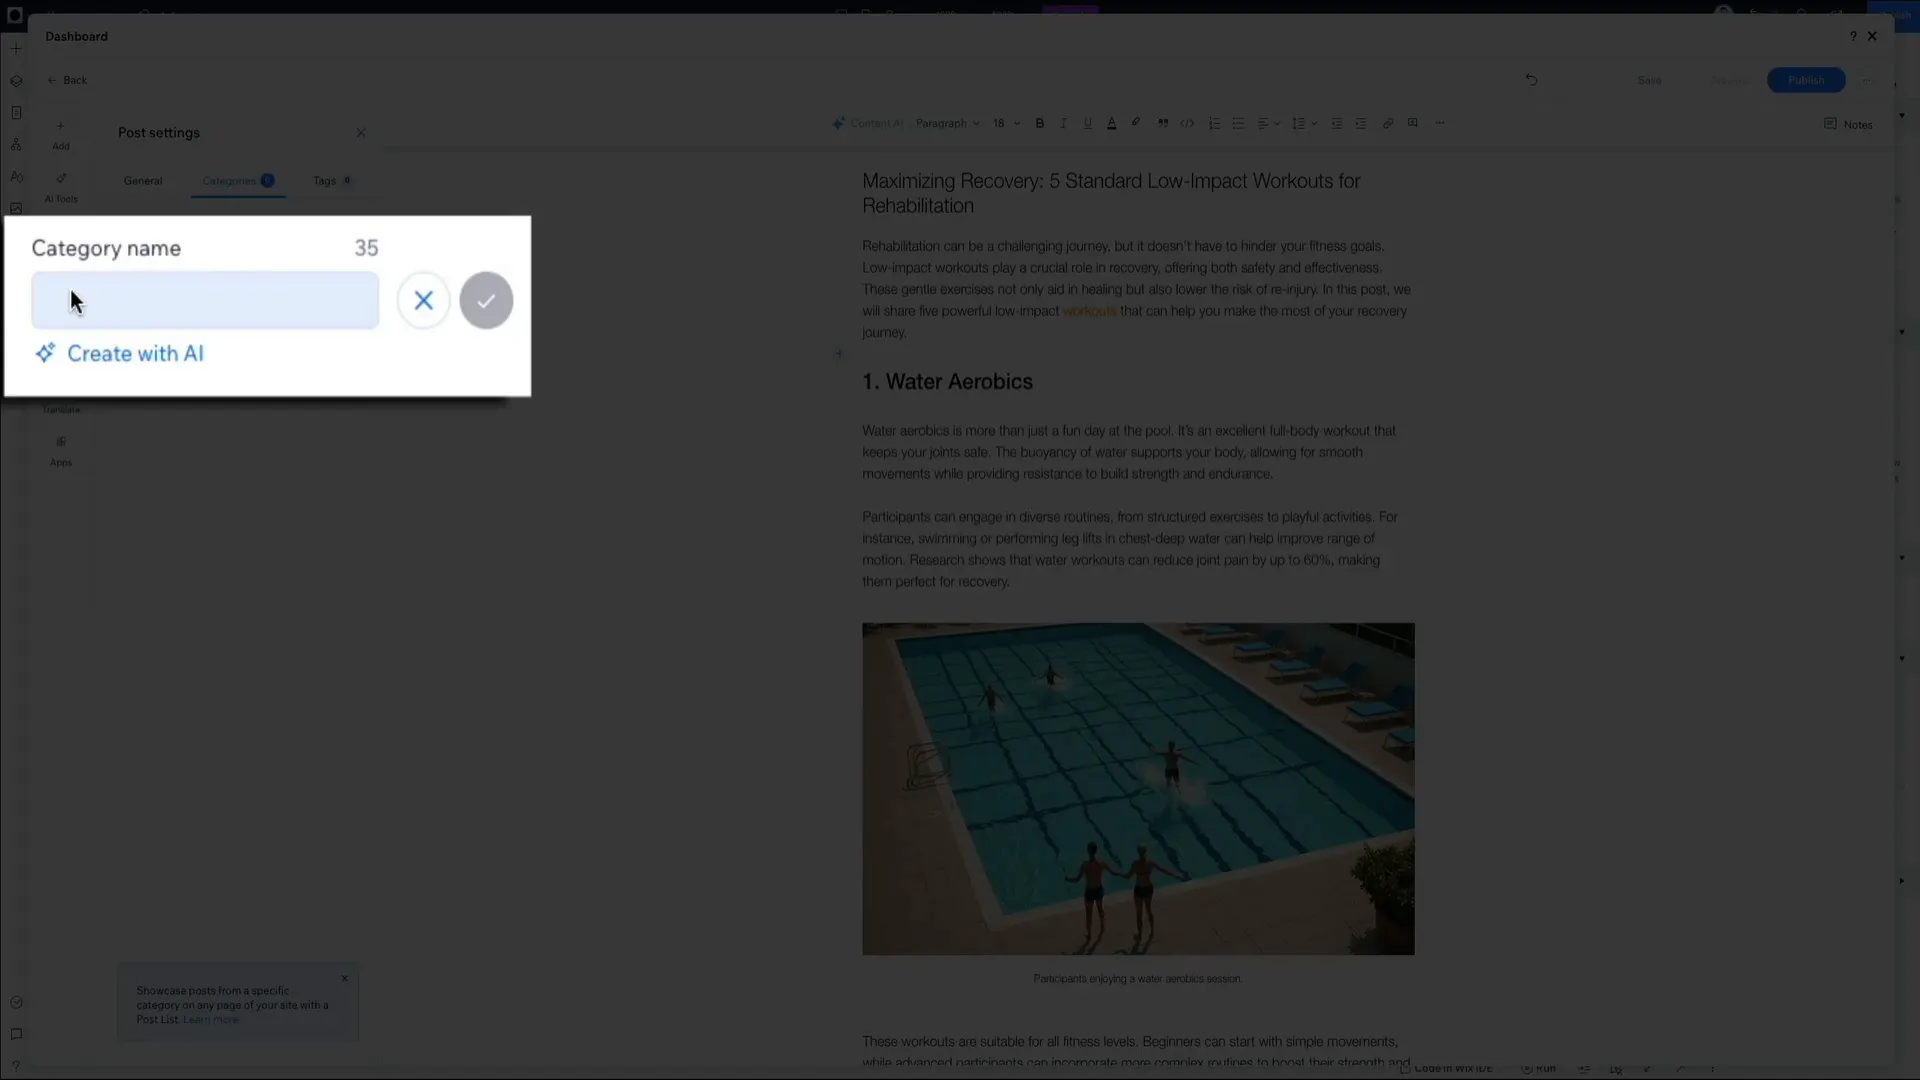
Creating categories helps organize your content, making it easier for readers to navigate. Tags serve a similar purpose and assist visitors in finding relevant content. Simply click “Create Category” to add a new category, and follow the same steps to create tags.
Optimizing for SEO
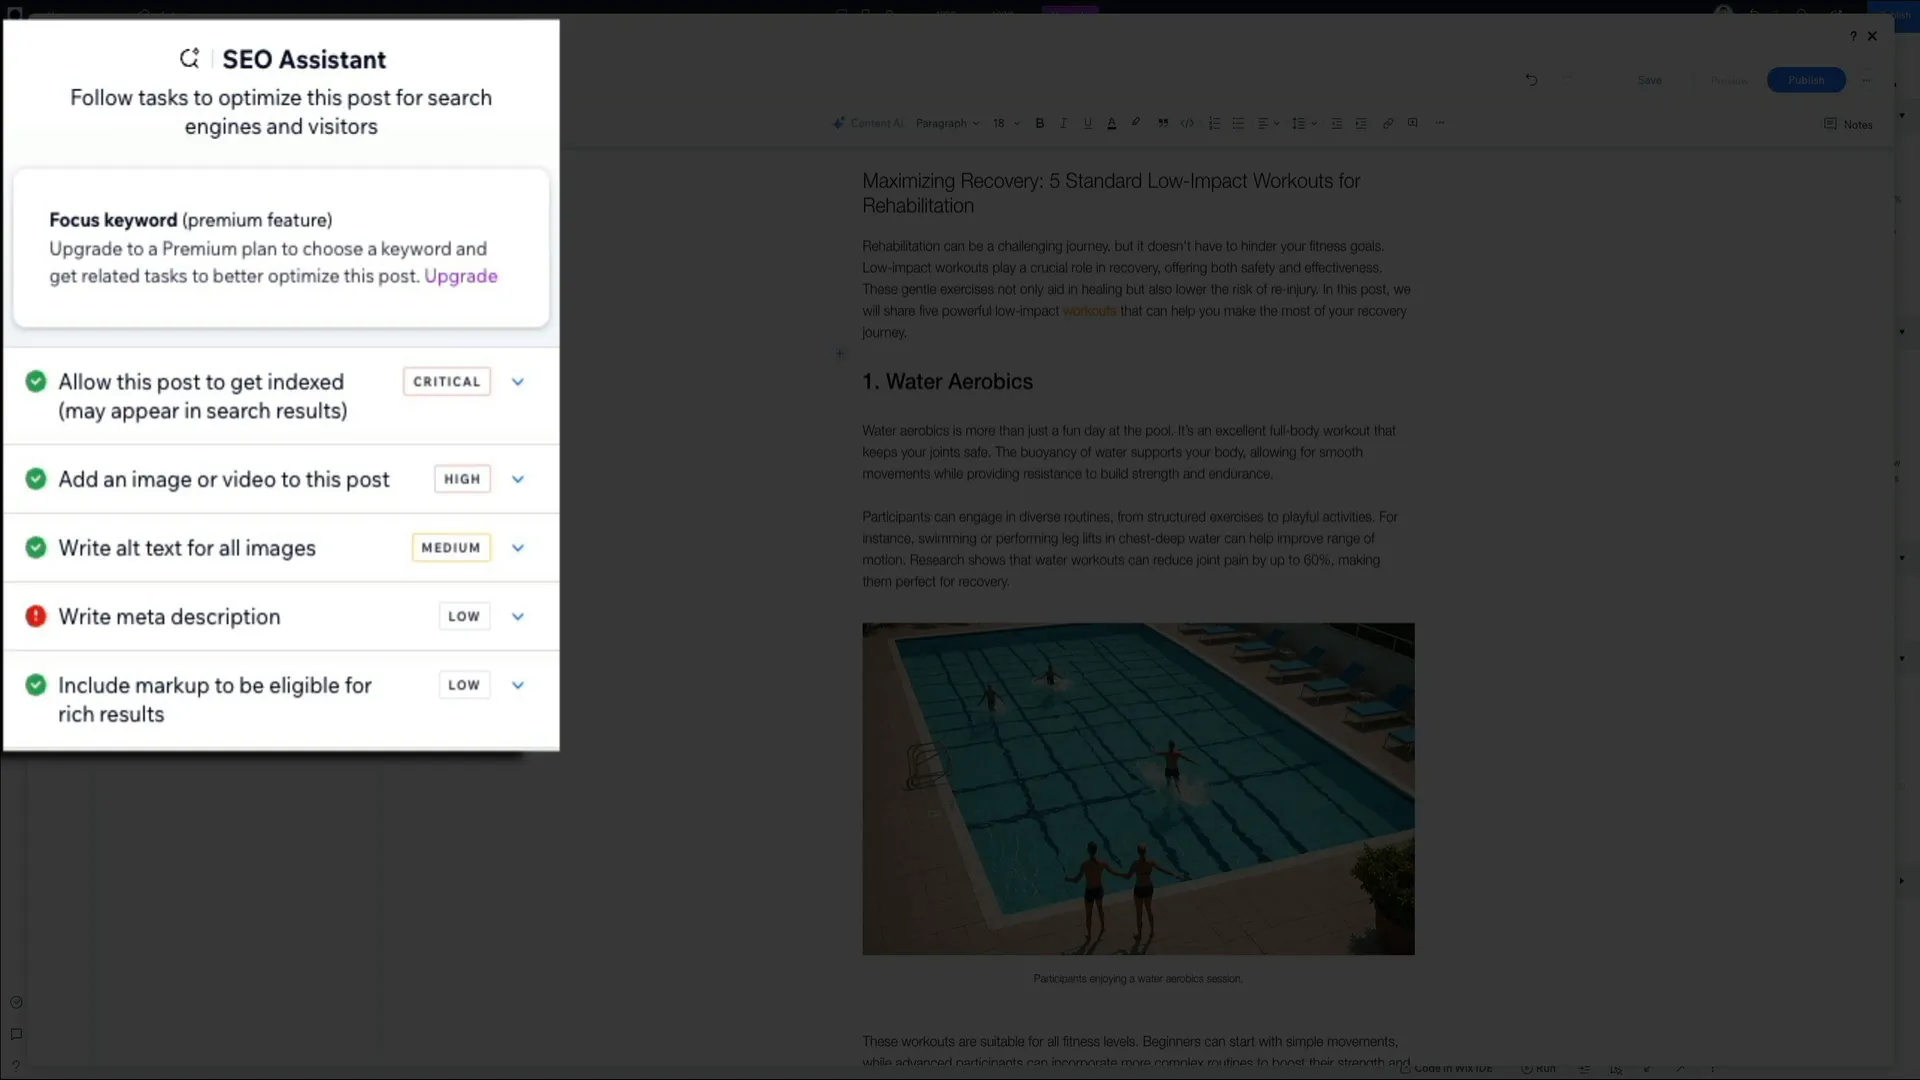
Next, let’s delve into SEO settings, which are crucial for ensuring your blog post reaches a wider audience. The SEO settings feature an assistant that helps optimize your blog posts for search engines.
SEO Assistant
Here, you’ll select a focus keyword, which helps in ranking your blog post higher. Although I’m currently on a free plan and can’t access certain features, upgrading to a paid plan will provide more options for keyword suggestions and SEO tasks.
Publishing Your Post
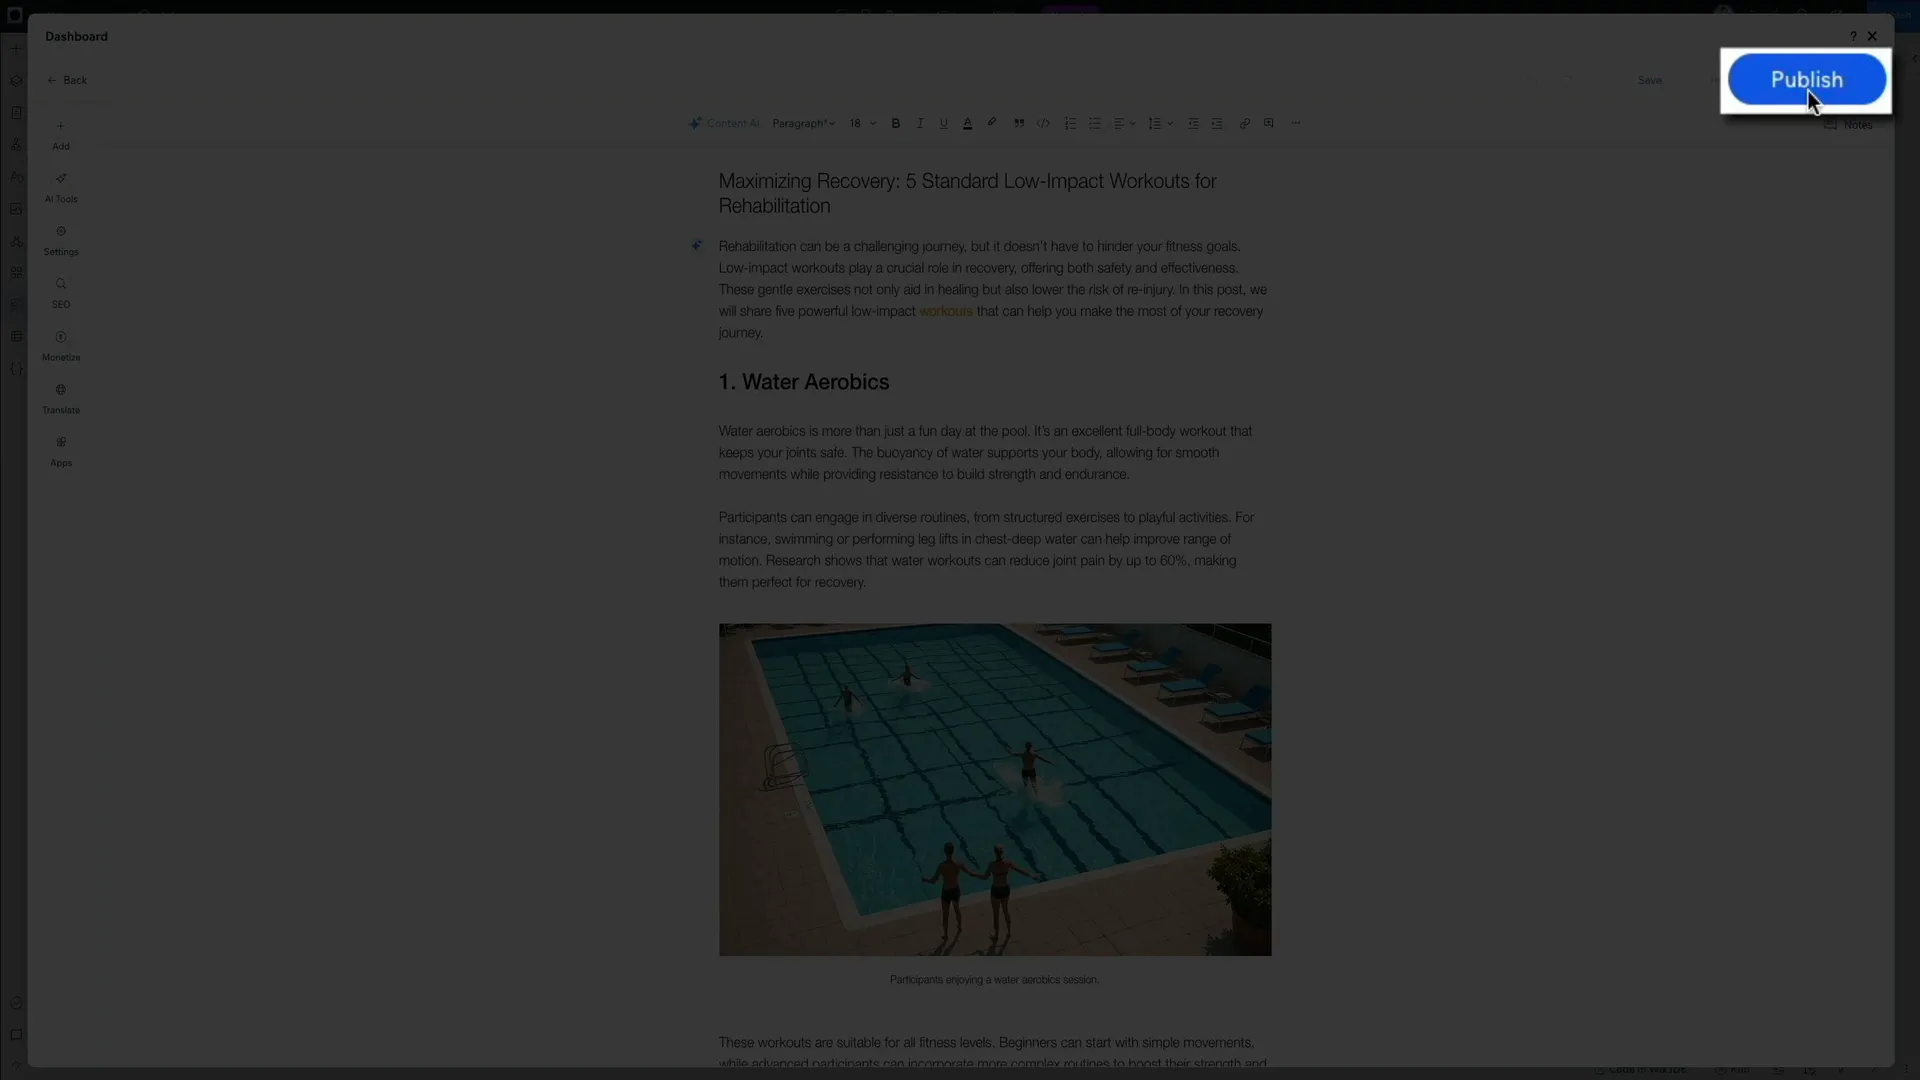
Once everything is set, preview your work before publishing. Click the preview button to see how your post will look on both desktop and mobile. When you're ready, hit the “Publish” button to go live!
Managing Your Blog
Now that your post is published, let’s explore how to manage your blog effectively using Wix Studio. From writing and publishing new posts to tracking performance, the manage blog section provides full control over your content strategy.
Access the blog overview dashboard to see all your published posts, view counts, and more. You can also quickly create new posts or edit existing ones from this dashboard.
Final Thoughts
The AI Blog Post Generator in Wix Studio is an intuitive and efficient tool that simplifies the content creation process. Whether you're a freelancer juggling multiple projects or a business looking to scale your content strategy, this tool offers a fast and reliable way to generate high-quality posts without compromising creativity.
If you found this guide helpful, be sure to hit that like button and subscribe for more tutorials. I’d love to hear your thoughts on using Wix Studio's AI tools in your own workflow. Thanks for reading, and I’ll see you in the next guide!

Written by Ben Cummings
Co-Founder of Sage Wave Media
Ben is the Co-Founder of Sage Wave Media, LLC which is the parent company of Blog With Ben. He enjoys teaching, blogging, startups, a hoppy IPA, and college basketball. Whenever he's not blogging, you can find him cruising around sunny San Diego with his amazing family.


0 Comments