How to Write a Food Recipe Blog Post with AI
How to Write a Food Recipe Blog Post with AI
In an ever-evolving digital landscape, bloggers are constantly seeking ways to streamline content creation while maintaining uniqueness and creativity. One such approach is by leveraging Artificial Intelligence (AI). This article, along with my step-by-step YouTube tutorial, will teach you how to use the AI-powered tools, Chat GPT and Midjourney, along with the WP Recipe Maker WordPress plugin to create a standout food recipe blog post.
Step 1: Generating the Content with Chat GPT
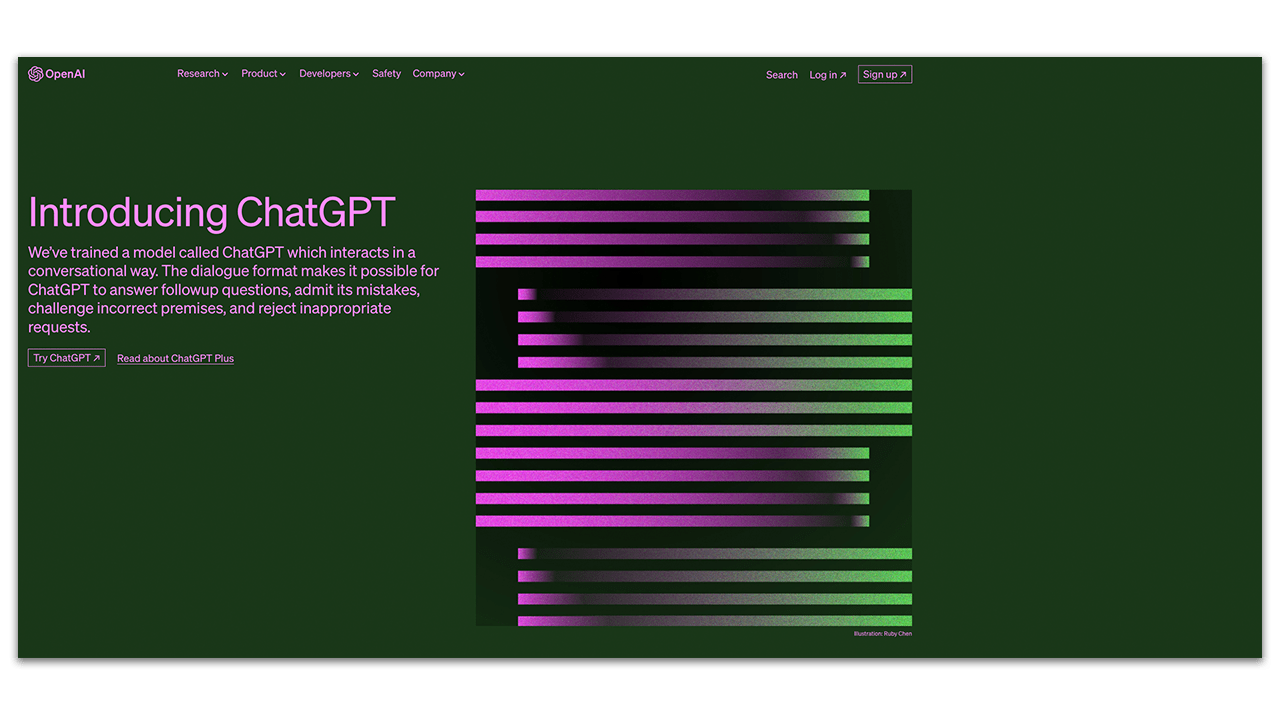
Chat GPT, powered by OpenAI, is an innovative tool that can generate human-like text based on the prompt given.
- Begin by visiting the OpenAI website and signing in to the Chat GPT interface.
- Provide a prompt to the model that specifies the type of recipe you'd like to create. For instance, if you want to create a vegan chocolate cake recipe, your prompt could be “Write a detailed recipe for a vegan chocolate cake.”
- Click enter on your keyboard or on the ‘Generate Icon' and watch as Chat GPT creates a unique, detailed recipe for you, complete with ingredients, measurements, and step-by-step instructions.
The more specific your prompt, the more tailored the generated content will be. Remember, the generated content may need some editing to ensure it aligns with your blog's style and tone.
Step 2: Creating Food Imagery with Midjourney
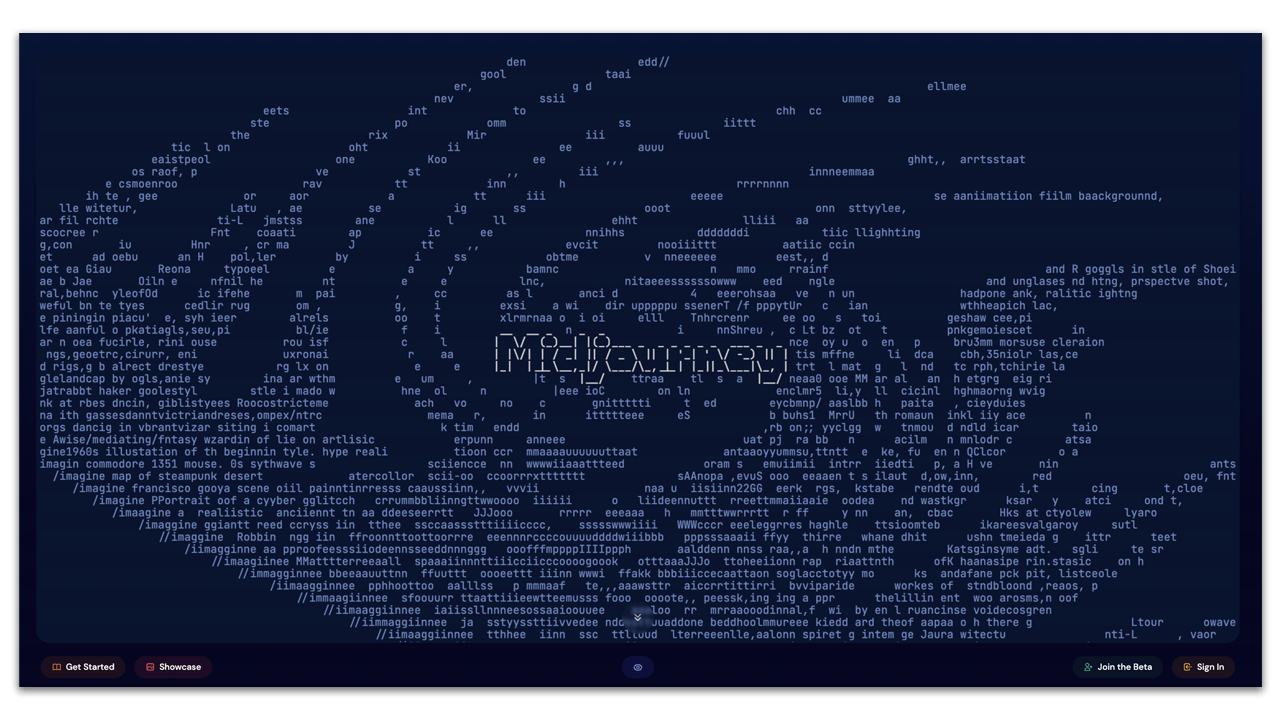
Great content isn't complete without equally great visuals. Midjourney, an AI-based image synthesizer, allows you to create appealing food images that perfectly match your recipe.
- First, sign up for Discord if you haven't already.
- Next, sign up for Midjourney and accept the invitation to the Midjourney Discord channel.
- Once you're in, go to the #newbies channel and type /subscribe.
- Choose your Midjourney plan that best suits your needs.
- Now, you're ready to start generating images. To do this, enter /imagine in the message box, followed by a description of the dish you want to visualize. For example, “/imagine a vegan chocolate cake topped with fresh berries.” Press enter or return to submit your prompt.
- Midjourney's AI will generate a series of images based on your description. You can then edit your creations to fit your vision better. If you need to refine the resolution of your image, you can use the upscale feature.
- Once you've obtained the perfect image, download it and prepare to wow your blog audience.
Remember, the more specific your prompt, the more tailored the generated images will be. So, take your time to think about how you'd like your dish to be presented.
If you need some extra help, I have a Midjourney video tutorial that walks you through the entire process. Check it out if you want some extra tips on how to get started with Midjourney.
Step 3: Bringing It All Together with WP Recipe Maker Plugin
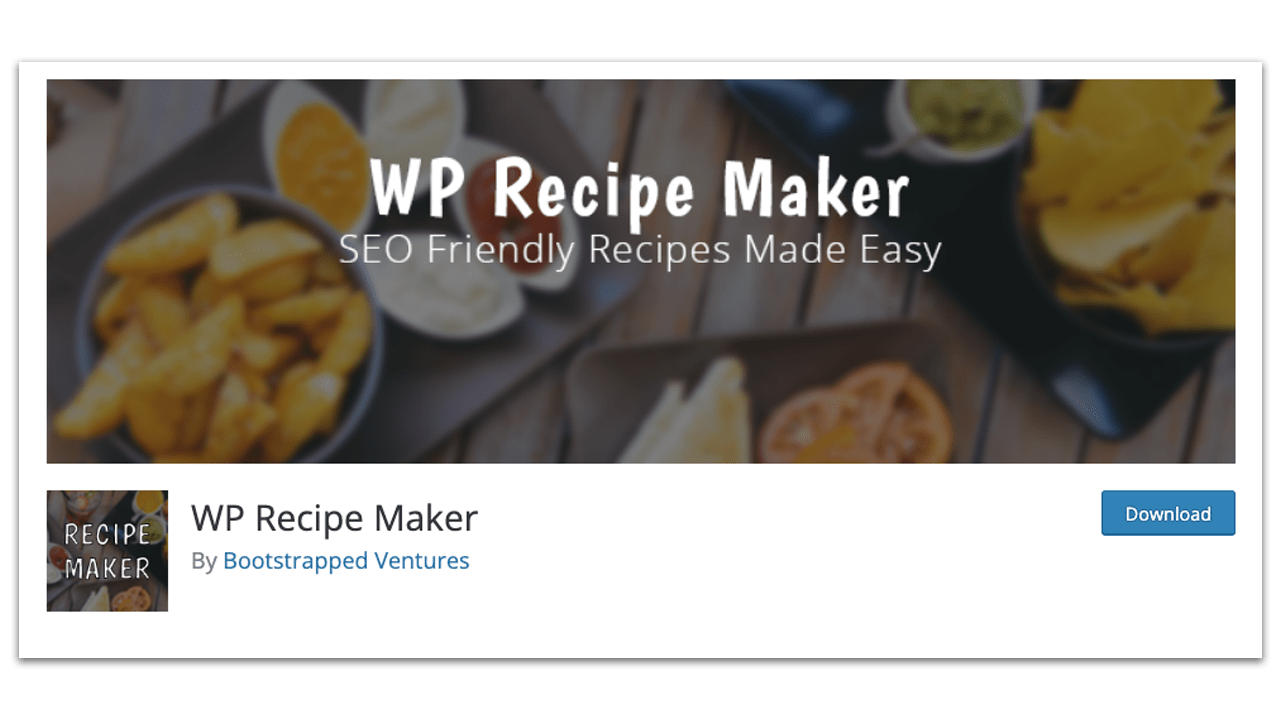
With your content and images ready, it's time to put it all together using the WP Recipe Maker WordPress plugin. This handy tool helps structure your recipe in a way that's easy for your readers to follow and beneficial for SEO.
- Log in to your WordPress dashboard, go to ‘Plugins,' and install the WP Recipe Maker plugin.
- Create a new blog post and click on the ‘WP Recipe Maker' icon to start creating a new recipe.
- Input the recipe name, preparation time, cooking time, and the number of servings, as generated by Chat GPT.
- In the ‘Ingredients' and ‘Instructions' sections, input the details from the generated recipe. Remember to format these appropriately.
- Upload the image you created with Midjourney in the ‘Image' section.
- Once all the details have been inputted, click ‘Insert' to add the recipe into your blog post.
And there you have it! You've created a unique, AI-generated food recipe blog post with appealing visuals, all using the power of AI and WordPress plugins.
If you're a more visual learner, or if you'd simply like a more in-depth guide, I've created a step-by-step YouTube tutorial that walks you through this process.
In today's fast-paced blogging world, utilizing AI not only saves time but also offers the ability to generate diverse and creative content. So, why not give these tools a try and take your food blog to new culinary heights?
In an ever-evolving digital landscape, bloggers are constantly seeking ways to streamline content creation while maintaining uniqueness and creativity. One such approach is by leveraging Artificial Intelligence (AI). This article, along with my step-by-step YouTube tutorial, will teach you how to use the AI-powered tools, Chat GPT and Midjourney, along with the WP Recipe Maker WordPress plugin to create a standout food recipe blog post.
Step 1: Generating the Content with Chat GPT
Chat GPT, powered by OpenAI, is an innovative tool that can generate human-like text based on the prompt given.
- Begin by visiting the OpenAI website and signing in to the Chat GPT interface.
- Provide a prompt to the model that specifies the type of recipe you'd like to create. For instance, if you want to create a vegan chocolate cake recipe, your prompt could be “Write a detailed recipe for a vegan chocolate cake.”
- Click enter on your keyboard or on the ‘Generate Icon' and watch as Chat GPT creates a unique, detailed recipe for you, complete with ingredients, measurements, and step-by-step instructions.
The more specific your prompt, the more tailored the generated content will be. Remember, the generated content may need some editing to ensure it aligns with your blog's style and tone.
Step 2: Creating Food Imagery with Midjourney
Great content isn't complete without equally great visuals. Midjourney, an AI-based image synthesizer, allows you to create appealing food images that perfectly match your recipe.
- First, sign up for Discord if you haven't already.
- Next, sign up for Midjourney and accept the invitation to the Midjourney Discord channel.
- Once you're in, go to the #newbies channel and type /subscribe.
- Choose your Midjourney plan that best suits your needs.
- Now, you're ready to start generating images. To do this, enter /imagine in the message box, followed by a description of the dish you want to visualize. For example, “/imagine a vegan chocolate cake topped with fresh berries.” Press enter or return to submit your prompt.
- Midjourney's AI will generate a series of images based on your description. You can then edit your creations to fit your vision better. If you need to refine the resolution of your image, you can use the upscale feature.
- Once you've obtained the perfect image, download it and prepare to wow your blog audience.
Remember, the more specific your prompt, the more tailored the generated images will be. So, take your time to think about how you'd like your dish to be presented.
If you need some extra help, I have a Midjourney video tutorial that walks you through the entire process. Check it out if you want some extra tips on how to get started with Midjourney.
Step 3: Bringing It All Together with WP Recipe Maker Plugin
With your content and images ready, it's time to put it all together using the WP Recipe Maker WordPress plugin. This handy tool helps structure your recipe in a way that's easy for your readers to follow and beneficial for SEO.
- Log in to your WordPress dashboard, go to ‘Plugins,' and install the WP Recipe Maker plugin.
- Create a new blog post and click on the ‘WP Recipe Maker' icon to start creating a new recipe.
- Input the recipe name, preparation time, cooking time, and the number of servings, as generated by Chat GPT.
- In the ‘Ingredients' and ‘Instructions' sections, input the details from the generated recipe. Remember to format these appropriately.
- Upload the image you created with Midjourney in the ‘Image' section.
- Once all the details have been inputted, click ‘Insert' to add the recipe into your blog post.
And there you have it! You've created a unique, AI-generated food recipe blog post with appealing visuals, all using the power of AI and WordPress plugins.
If you're a more visual learner, or if you'd simply like a more in-depth guide, I've created a step-by-step YouTube tutorial that walks you through this process.
In today's fast-paced blogging world, utilizing AI not only saves time but also offers the ability to generate diverse and creative content. So, why not give these tools a try and take your food blog to new culinary heights?

Written by Ben Cummings
Cofounder of Sage Wave Media
Ben is the Cofounder of Sage Wave Media, LLC which is the parent company of Blog With Ben. He enjoys teaching, blogging, startups, a hoppy IPA, and college basketball. Whenever he's not blogging, you can find him cruising around sunny San Diego with his amazing family.
0 Comments